


Last Reviewed:
April 30, 2024
| This article will show you how to install a carpet and pad without wrinkles, like the professionals do it. | |
 |
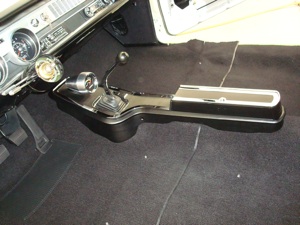
1. We will be working on a 1966 442 Tri-Power Oldsmobile convertible. |
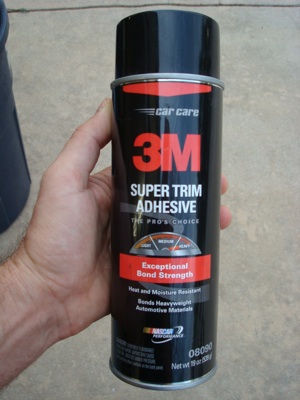 |
2. We always use 3M 08090 Super Trim Adhesive. This glue gives you plenty of time to work the carpet before a permanent bond takes place. |
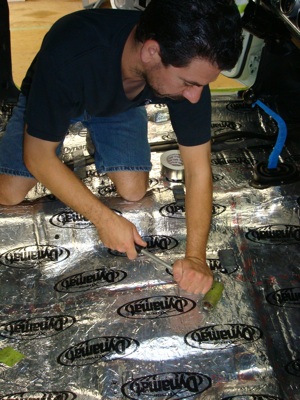 |
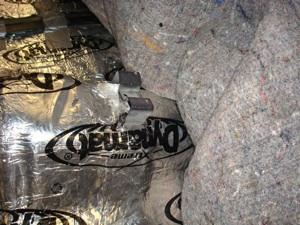
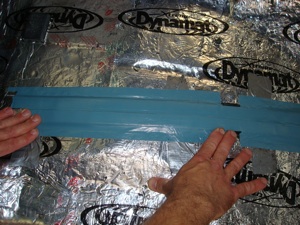
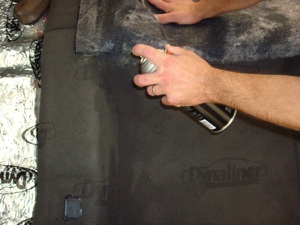
3. We always install Dynamat sound deadener on the bare floor first. Here we are rolling out the material to take out any humps and we press out the overlaps to make them as flat as possible. |
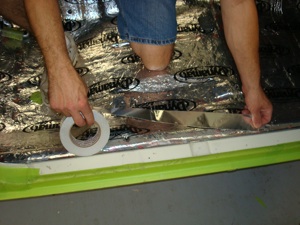 |
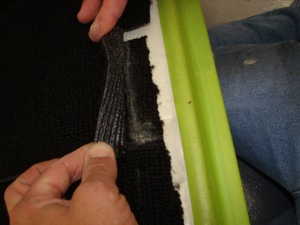
4. Then we apply aluminum tape to all the edges and seams to prevent the butly from getting on our skin and clothing while installing the carpet. |
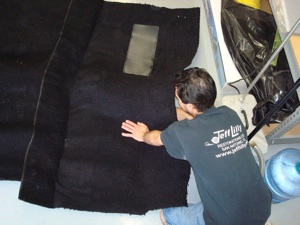 |
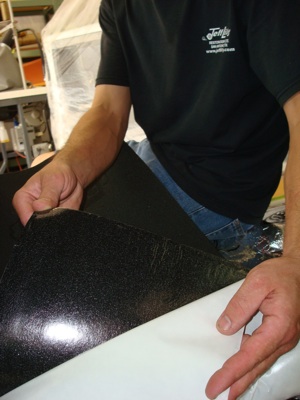
5. Auto Custom Carpet has pre-molded carpet for most cars and we always order it untrimmed so we have extra material to work with. And we usually order the carpet without the jute padding so we can use a better quality padding. |
 |
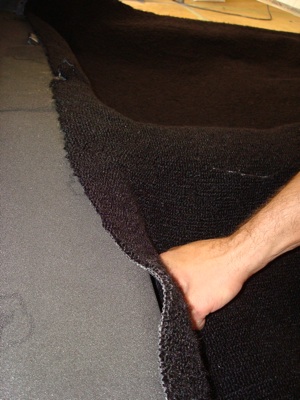
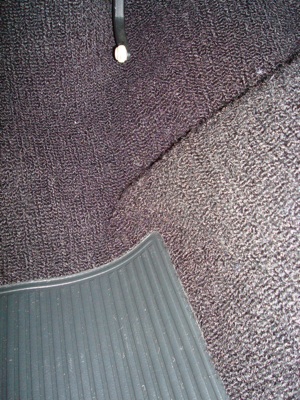
6. The first step is to check the fit so we know where we will need to add extra foam to give the carpet a smooth rolling fit without puckers or wrinkles. |
|
|
|
 |
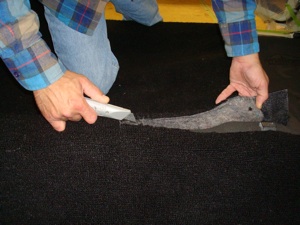
7. The sides of the drive shaft tunnel in the rear usually needs extra attention. |
 |
8. We make holes for the seat bolts and console mounting bracket screws by starting with small ´X´ cuts and then trimming the edges. |
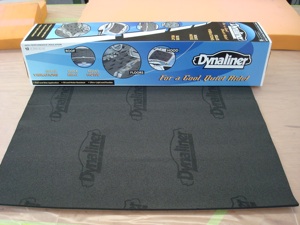 |
9. Then we remove the carpet and put down a layer of Dynaliner padding. This padding has a pressure sensitive adhesive backing that will stick to the aluminum cover of the Dynamat. |
 |
10. Dynaliner comes in a different thicknesses and we generally use 3/16th but add 5/8 to some areas. This padding also helps to insulate the floor from the hot exhaust system underneath. |
 |
11. Here we are tapping down the tail light wires as flat as possible. We like to use 3M High Temperature duct tape for this because the heat from the exhaust system will not affect it. |
 |
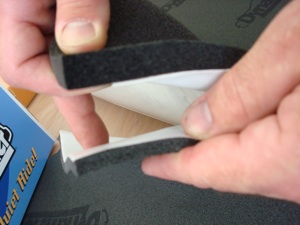
12. You must be careful when removing the paper from the Dynaliner padding because it is very sticky and is hard to remove for repositioning. |
 |
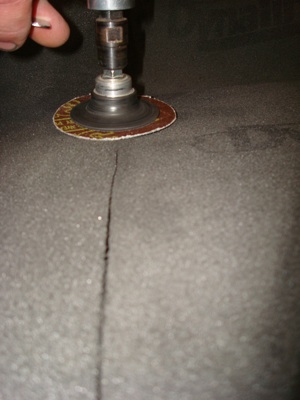
13. We use this angle grinder with a 40 grit disc to remove foam when it is too high. |
 |
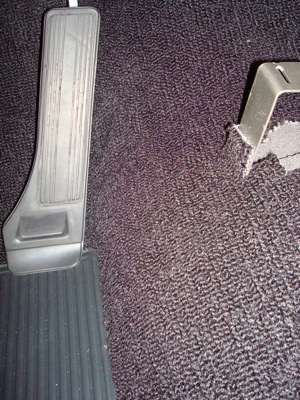
14. Here we are reducing the thickness of the foam at the edge of the step plate. We want this as thin as possible so the step plate will be flat after the carpet is installed. |
 |
15. Sometimes we have to ad padding to fill voids but the disc sander makes it easy to blend the pieces. |
 |
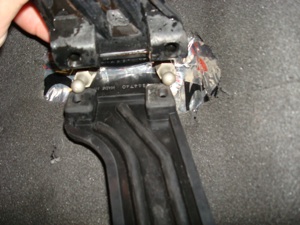
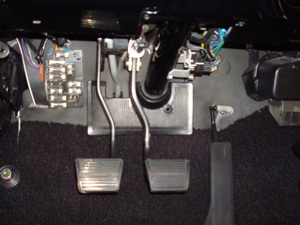
16. Here we are tapering the foam around the gas pedal studs to assure the pedal will move freely once the carpet is installed. |
 |
17. And here we are checking the pedal movement to assure we get it right. |
 |
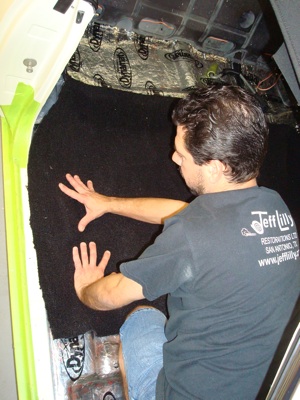
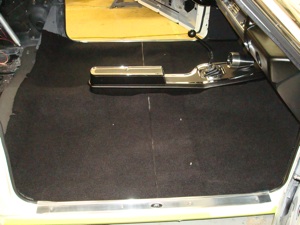
18. When we are happy with the padding we lay the carpet back down and work from the center out to eliminate the bubbles and wrinkles. Here we are applying some glue to the rear drive shaft tunnel to hold the carpet in place while we work outward. |
 |
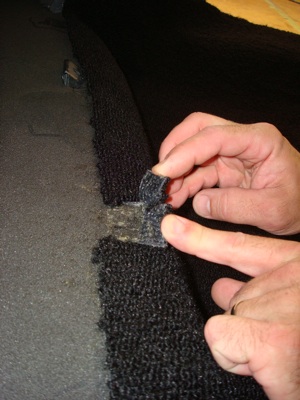
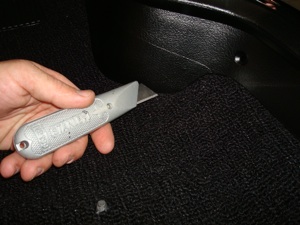
19. Sometimes we have to cut out a section of carpet to remove a wrinkle and we always try to do this under the console or seats so the seam won´t fray or be visible. |
 |
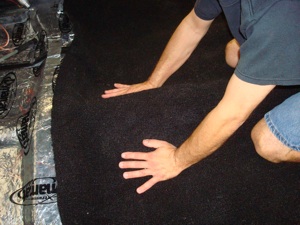
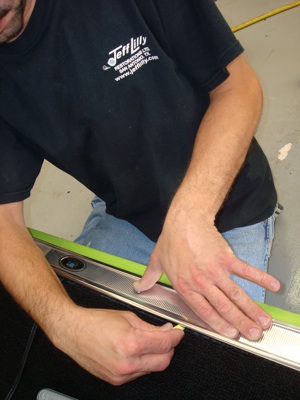
20. Once we like the fit we apply a liberal amount of glue and work the carpet with our hands to get the best fit. |
 |
21. Here we had to cut out a small notch where the rear seat will sit. This won´ be seen when the seat is installed. |
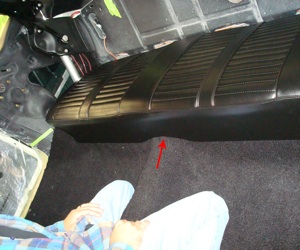 |
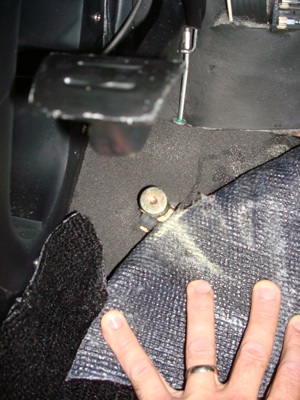
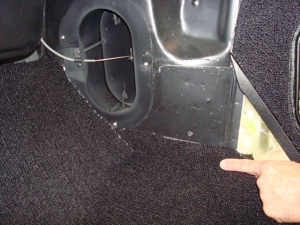
22. And here we are checking the fit of the rear seat around the tunnel. The red arrow points to where we sanded down the padding to assure the seat would snap into place without leaving a gap. |
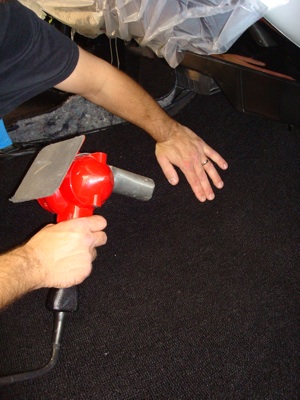 |
23. You can use a heat gun to soften the carpet fibers, allowing you to stretch it into place. Hold the gun 12-18 inches away and when your hands start to feel uncomfortably hot it´s time to start forming. |
 |
24. On this job we had a large pucker of material along the side of the console, just below the gas pedal linkage, so we had to do some extra work. |
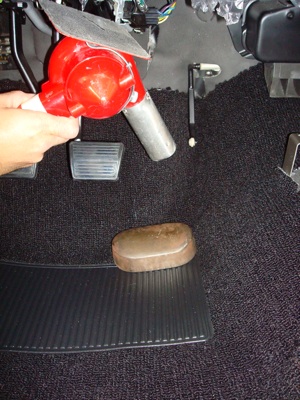 |
25. We begin by heating the carpet and while laying a dolly weight against the gathering and we work our way up and outward one to two inches at a time. |
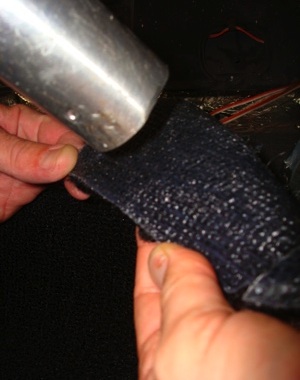 |
26. When we get to the top edge it become harder to move so we pull back the carpet and heat the plastic backing directly to make it easier. |
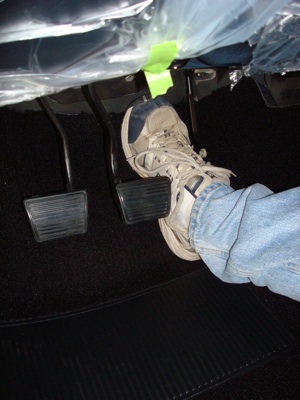 |
27. Here we are using a foot to work out the wrinkle toward the top edge of the carpet. |
 |
28. And here we have installed the gas pedal to assure it works without any interference from the carpet. |
 |
29. For the headlight dimmer switch we pull back the carpet and make an ´X´ cut. then we trim it out for a factory-made grommet. |
 |
30. We found a gathering problem below the console, near the seat, so we marked it with white chalk and worked it out using our heat gun. |
 |
31. In this case we made a few tiny holes through the carpet, being careful not to slice a loop, which might unravel. |
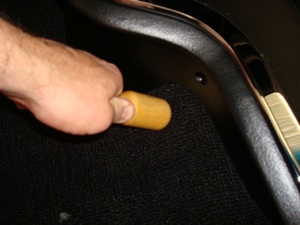 |
32. Then we heat it up and use a round handled tool to push the carpet into shape. |
 |
33. As you can see here, it´s looking good. |
 |
34. As we continue outward we have to trim around the kick panel vent. For this we cut the carpet about 1/2 inch past the edge and then tuck the carpet into the seam to hide the edge. |
 |
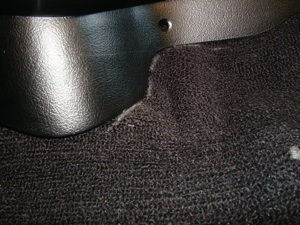
35. The kick panel fits tight and looks right. |
 |
36. Next we put the step plates in place and mark their locations with chalk. |
 |
37. Then we trim the carpet back so it will rest in the middle of the step plate, just inside the mounting holes. |
 |
38. Here we are looking at the fit around the steering column and making some final adjustments. |
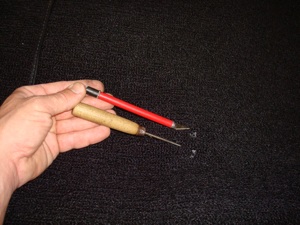 |
39. And last we locate the seat base studs and slice small relief cuts to expose them. We use a pick to locate the bolt holes before making any cuts. |
 |
40. And here we´re all done and ready to install the bucket seats. |
Jeff Lilly Restorations
11125 F.M.1560 N
San Antonio, Texas
210-695-5151 - www.jefflilly.com
11125 F.M.1560 N
San Antonio, Texas
210-695-5151 - www.jefflilly.com