Last Reviewed:
January 11, 2026
| We will make a new convertible top guide to demonstrate the procedure for making a new striker plate, stop or guide. | |
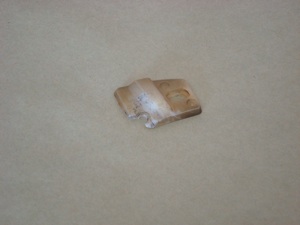 |
1. Here is the guide we want to reproduce. The material becomes brittle and over the years, causing it to crack and chip. |
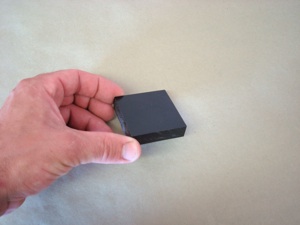 |
2. We are using a very durable plastic with natural lubricating properties and you can buy it at most plastic supply houses. It comes in black or milky white colors. |
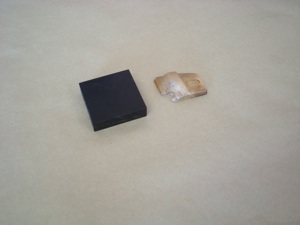 |
3. We start with a piece slightly larger then the original. |
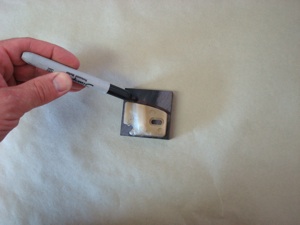 |
4. Here we use the original as a template to mark the outside edges. |
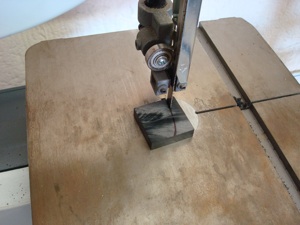 |
5. Then we cut it out on a band saw, leaving an 1/8th inch margin for clamping. |
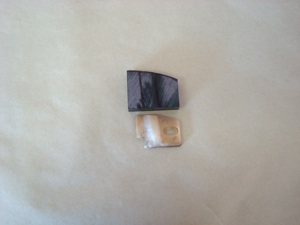 |
6. Here is what we have so far. |
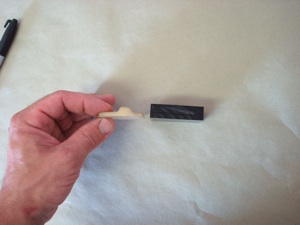 |
7. The new material is slightly thicker than the original but that will not be a problem. |
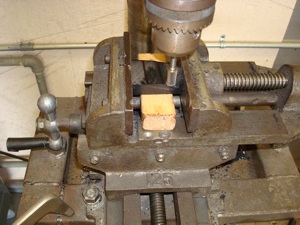 |
8. Next we install the new piece in a three-way vise with a block of wood underneath for support. We will use a simple carbide burr in the drill press. |
|
|
|
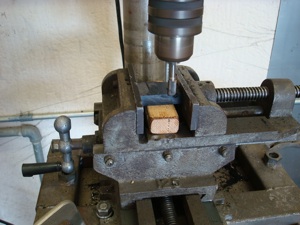 |
9. Then we gradually create the desired shape by moving the vise. |
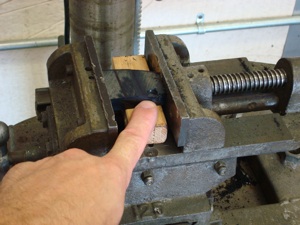 |
10. Here you can see what happens (the chip) if you move too fast. |
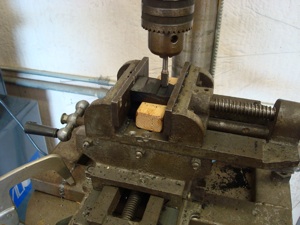 |
11. So we make nice, slow and steady passes. |
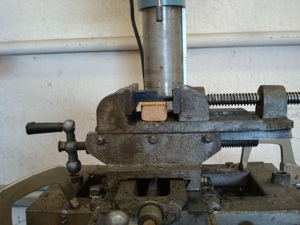 |
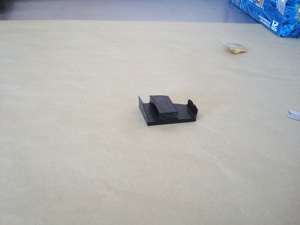
12. Now you can see that one side is cut to the right depth. |
 |
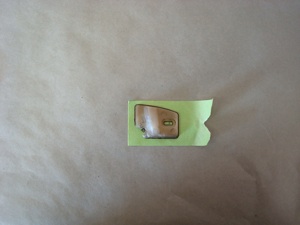
13. And here we have cut down both sides. We will remove the wings at the ends with a belt sander before continuing. |
 |
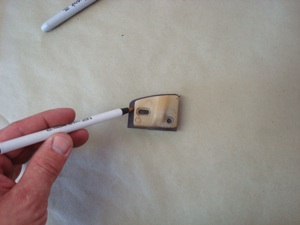
14. In this picture you can see that we used a piece of tape to create a template for the holes. |
 |
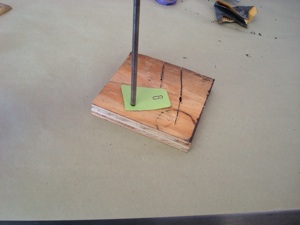
15. Then we transferred the outside edges of the original piece to our new piece. |
 |
16. Next we carefully handle the tape without using our hands to prevent a loss of stickem. |
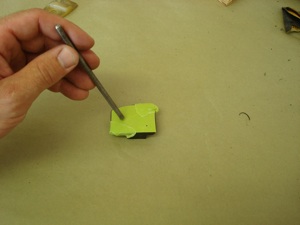 |
17. And place it on the new piece so we can drill the holes in the correct location. |
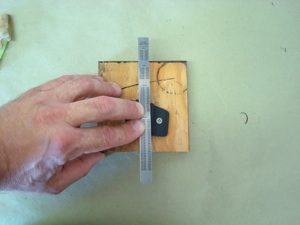 |
18. Now we can use a hole to screw the piece onto a block of wood for the final steps. We are using a straight edge here to accurately measure for final tweaking. |
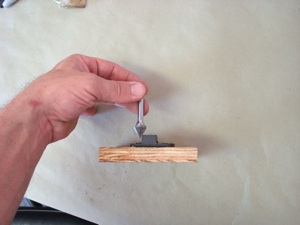 |
19. Here we are picking out a beveled bit to apply a slope to the guide. |
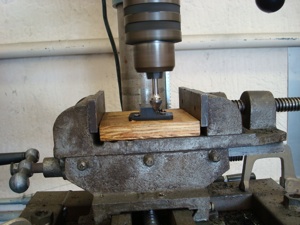 |
20. Now back to the drill press to cut the slope. This is also a good time to go back to the straight bit and trim the perimeter to the actual size. |
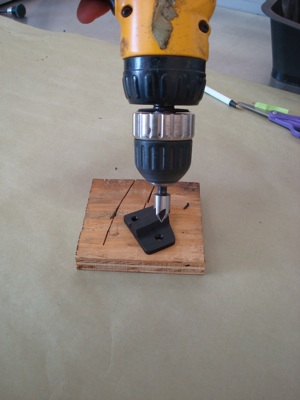 |
21. Finally, we alternate the hold-down screw so we can carefully countersink the holes. |
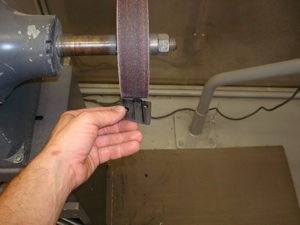 |
22. And then a quick pace on the belt sander to remove the burrs. |
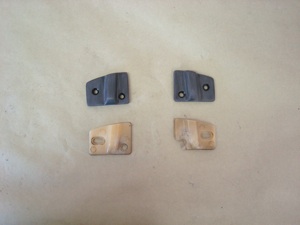 |
23. Here you can see how well the new guides matches the original ones. |
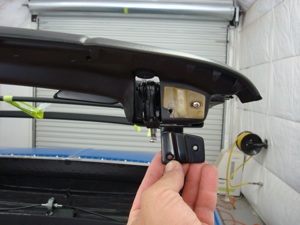 |
24. And here you can see how they will look on the application. |
Jeff Lilly Restorations
11125 F.M.1560 N
San Antonio, Texas
210-695-5151 - www.jefflilly.com
11125 F.M.1560 N
San Antonio, Texas
210-695-5151 - www.jefflilly.com


