Last Reviewed:
January 11, 2026
| If you need to stiffen a hinge to keep the deck properly alined or just want the edge at the next custom car show, this article will show you how to improve a typical hood or trunk hinge it. | |
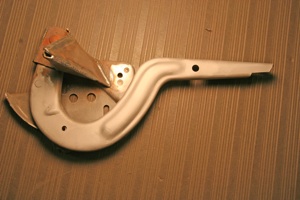 |
1. As seen here, the original hinge was stamped out of a piece of flat metal. We're going to box it in for stability and looks. |
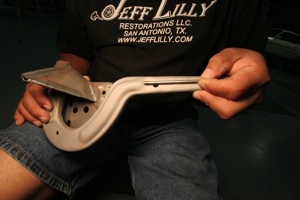 |
2. First we welded on a piece of 1/4 inch stainless wire to give the front side a more finished look. |
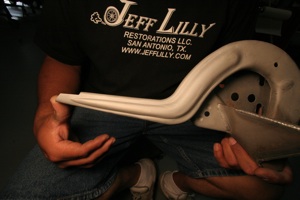 |
3. Then we sanded and filled and sanded until our weld was smooth. Then gave it a coat of primer. |
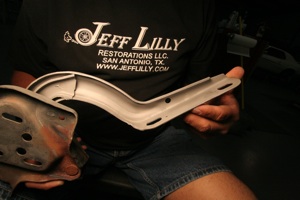 |
4. The next step was to weld a plate over the back side so we had to be very careful not to let the heat tweak it out of shape. Our method is to tack weld then air cool, tack and cool, tack and cool so the heat can't build up. |
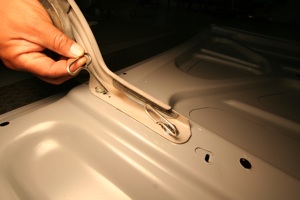 |
5. In this picture we're checking the fit of the hinge on the deck panel before making any welds. Notice that we use alignment pins rather than bolts to save time. |
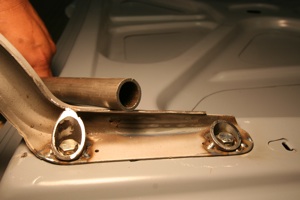 |
6. Our first task on the back side was to tack weld two small pieces of 3/4 thin wall tubing centered around the bolt holes. Then we cut them at an angle from the high side to the low side of the hinge. |
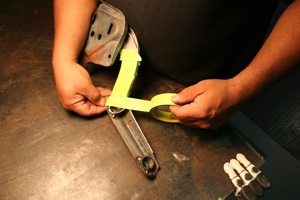 |
7. Then we taped the hinge with a generous overlap to form our a template. We actually did it in two sections. |
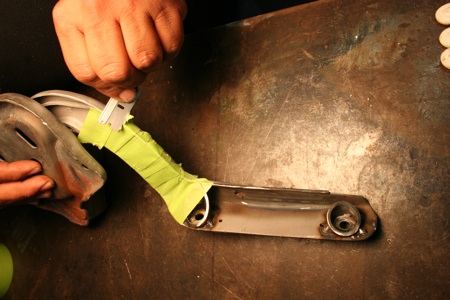 |
8. In this picture we are carefully slicing along the outside edge of the hinge with a razor so we could separate the top part of the tape for our template. |
|
|
|
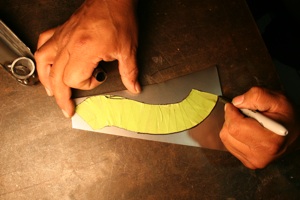 |
9. Once we had a template all we had to do was stick on a suitable piece of metal, trace it out and cut it for an exact fit. |
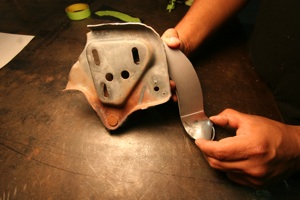 |
10. After a little hand-tweaking it was ready for welding. We did the same thing on the far end of the hinge. |
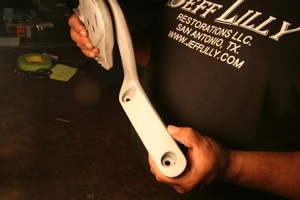 |
11. And here is the finished product. It's the one of a kind type thing and only a car show judge would notice! |
Jeff Lilly Restorations
11125 F.M.1560 N
San Antonio, Texas
210-695-5151 - www.jefflilly.com
11125 F.M.1560 N
San Antonio, Texas
210-695-5151 - www.jefflilly.com


