


Last Reviewed:
July 12, 2026
| By following these instructions you can install sequential lights and any vehicle that has two, three or four stoplights. In this example we will retrofit a Mercury Cougar that had sequential turn signals with an updated version provided by Classic Design Concepts. | |
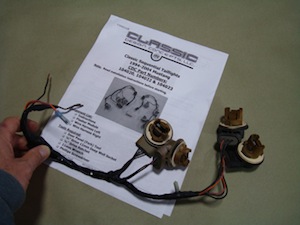 |
1.We are going to replace this wiring harness will all new wires and sockets. |
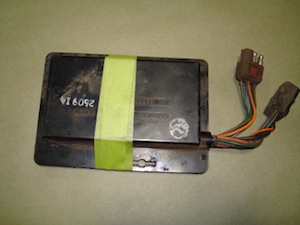 |
2. And we are going to replace this control module with the newer, smaller, version. |
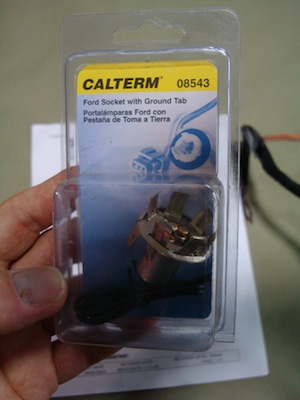 |
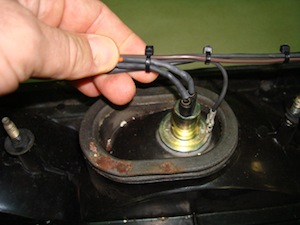
3. You may have to do some research to find new sockets that fit your vehicle. They need to be the two-post type for double element type lightbulbs. |
 |
4. Here we are taking off some of the tape to give us better access to the wires. |
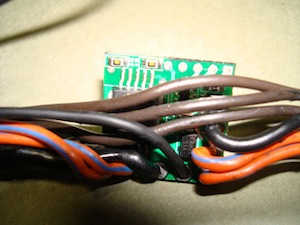 |
5. This green circuit board is the complete Design Concept brain, attached to their wiring harness. |
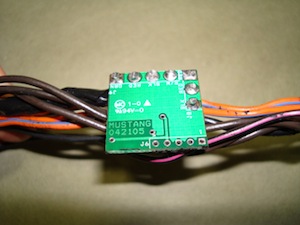 |
6. And here is the backside. |
 |
7. Once the new sockets are installed we like to use small plastic ties to keep the wires under control. |
 |
8. And we use shrink insulation tubes over wire splices to both protect the connection and give a clean appearance. |
|
|
|
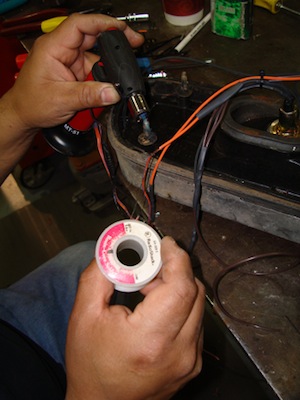 |
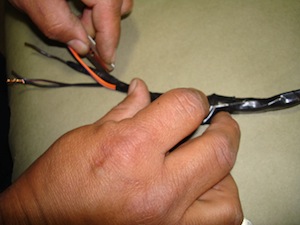
9. Then it is just a matter of soldering all of the wires to the new harness. There are a lot of connections but the wiring diagram in the harness kit will keep you out of trouble. |
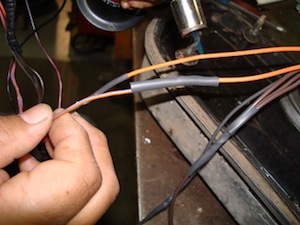 |
10. Do not forget to put the shrink tubing on before you solder the connection! |
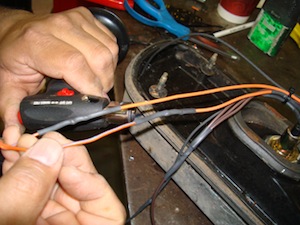 |
11. And here we are heating the shrink tubing with a small torch, but a cigaret litter will work fine. |
 |
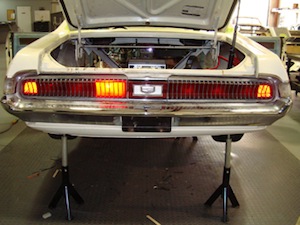
12. All done so let's give it a try. |
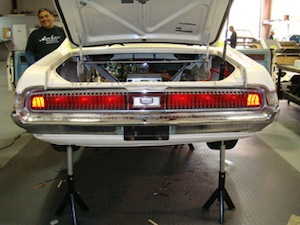 |
13. We did not mess with the tail lail lights so they should still work fine, and thankfully they do. |
 |
14. When we signal left the first inside light comes on. |
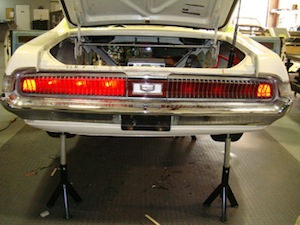 |
16. The lights blinked too fast to catch the first and second ones on but they did work as expected and here is all three. |
Jeff Lilly Restorations
11125 F.M.1560 N
San Antonio, Texas
210-695-5151 - www.jefflilly.com
11125 F.M.1560 N
San Antonio, Texas
210-695-5151 - www.jefflilly.com