Last Reviewed:
January 11, 2026
| In this body shop tip we will show you how to replace the front or rear windshield glass. | |
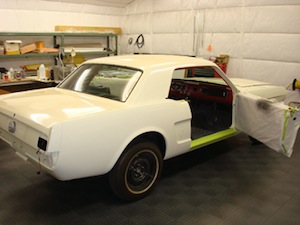 |
1.We will be working on a Ford Mustang but the procedure is the same for most any production antique, vintage or classic car or truck. |
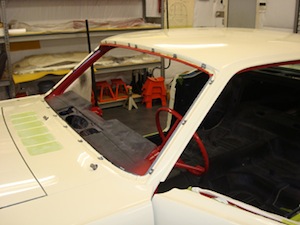 |
2. If you need to take the old glass out the procedure is similar, but in reverse. After the glass is out you need to clean up the channel and make sure the molding retainer clips are reuseable. |
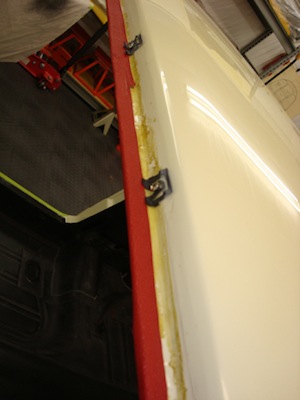 |
3. Notice that the headliner was installed with the window out so it could be rapped around and glued to the channel lip. Be sure to replace any molding clips that are bent or appear weak as they are essential to getting a good tight fit. |
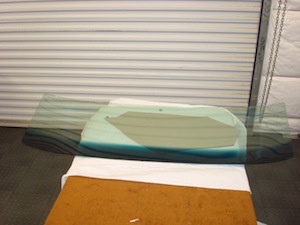 |
4. Here the new glass has been unraped inspected and cleaned. Of course it will be cleaned again when we are done but it is easier to do any necessary scraping or rubbing while it sits on the bench. |
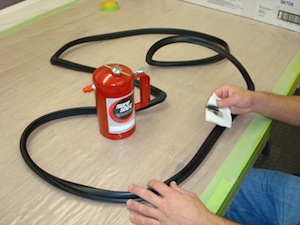 |
5. Whether new or old we prepare the gasket by cleaning it with Prepsol to eliminate silicone and other residue. |
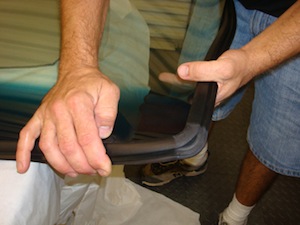 |
6. When we install the gasket we are concerned that it fits "comfortably". If it is too loose it should be replaced and if it is too tight look for interference that can be trimmed away. |
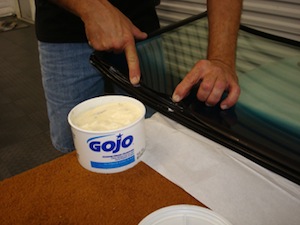 |
7. You need to lubricate the outside of the gasket for ease of installation and we like to use GoJo hand cleaner for this because it is slick and cleans up easily with a damp cloth. |
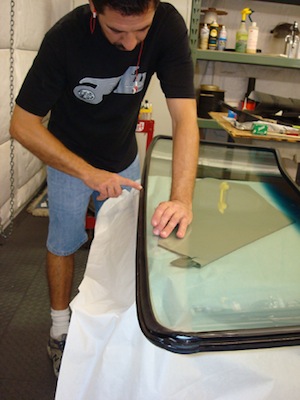 |
8. Use your finger to apply a generous amount of GoJo everywhere that will make contact with the window channel. |
|
|
|
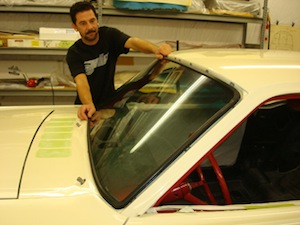 |
9. It is a two man job to gently set the window on the channel. Now the work begins! |
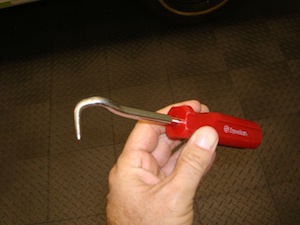 |
10. This is a special windshield installation tool that has been shaped to curl under the gasket. You can buy them at local parts or glass stores or you can make one out of an awl or simply a steel rod. |
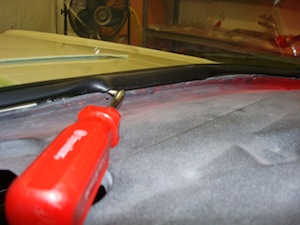 |
11. Working from inside the vehicle, we put the hook in between the channel and gasket, turn it slightly to put the point in the gasket channel and then pull out gently. When you have a piece of the gasket out you can gradually wiggle the tool around the glass to bring out the rest. You can also do this buy wrapping a small rope around the channel before installation and then pulling it out from the inside. |
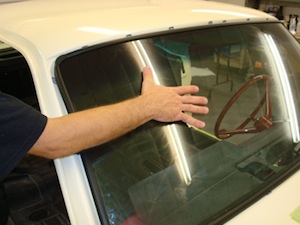 |
12. Now give the windshield a few good hard slaps with your hand to seat the gasket, and then wiggle it back and forth slightly to assure it is centered in both directions. |
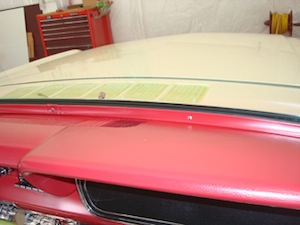 |
13. The next step is to clean and install the interior molding. |
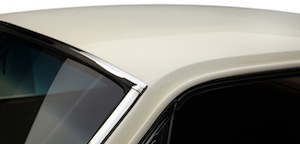 |
14. And finally we snap on the outside trip pieces. |
Jeff Lilly Restorations
11125 F.M.1560 N
San Antonio, Texas
210-695-5151 - www.jefflilly.com
11125 F.M.1560 N
San Antonio, Texas
210-695-5151 - www.jefflilly.com


