


Last Reviewed:
July 12, 2026
| The underside of a hood is an unsightly area that needs attention when building a specialty vehicle. The following techniques will work on any vehicle. | |
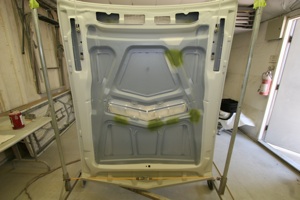 |
1. This is a 1970 Ford Torino hood with a fiberglass duct that runs across the middle and sticks down into the engine compartment. This hood is a great candidate to show our techniques for building a custom cover because it has so many contours and close tolerances to clear the engine. |
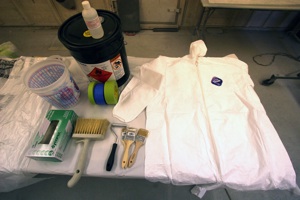 |
2. For the fiberglass application, we will need a five gallon can of polyester resin, vinyl gloves, large and small disposable paint brushes, an air bubble roller, blue painters masking tape, a tyvek spray suit to avoid getting fiberglass dust on our skin and razor blades. |
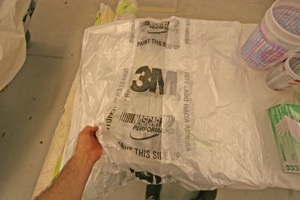 |
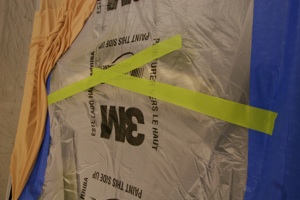
3. We will also use 3M Plastic car cover as a masking agent because resins release from it fairly easily. |
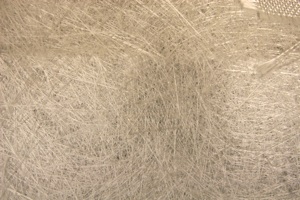 |
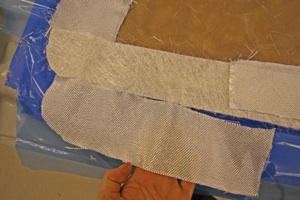
4. Chopped strand mat (shown here) has strands going in all directions and is available in different thicknesses. Thicker mat gives you more strength but is less flexible, making it harder to shape. We will use chopped strand mat for its strength and screen matting for its flexibility. |
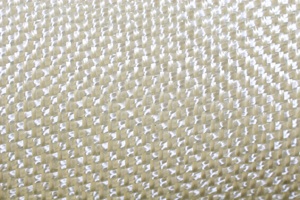 |
5. Screen matting (shown here) is easier to shape than chopped strand mat. It also comes in different thicknesses but is thinner and smoother so it is usually applied on the top surface. We layer it over each chop matt layer for maximum strength. We also use it for small patch jobs. |
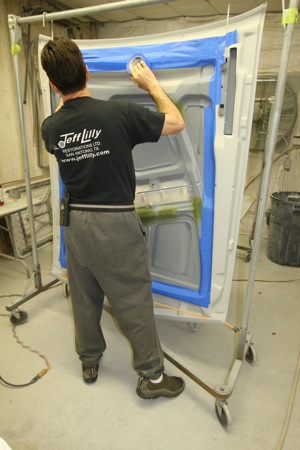 |
6. We start by taping off the outer edges of the panel. 3M green tape sticks the best but blue painters tape releases easier when you are finished. |
 |
7. We like to use a heat gun to work out the wrinkles in the tape and get a skin tight fit. A mold is only as good as the preparations you put in to it so you want to avoid all wrinkles and lines. |
|
|
|
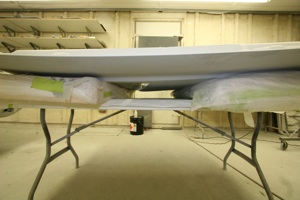 |
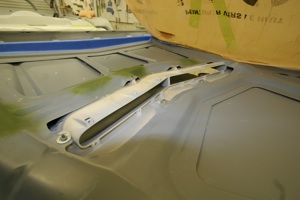
8. We work on the hood with the bottom side up for easy access. The hood is sitting on thick foam blocks to protect the top side and the air scoop is hanging freely in the middle. |
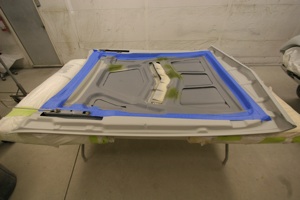 |
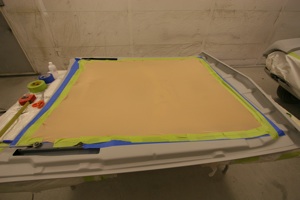
9. Here the outer edge is taped off tight and we are ready to shape the inner section. |
 |
10. First we stretched 3M plastic sheet on the inside section to keep resin from sticking to the steel hood. |
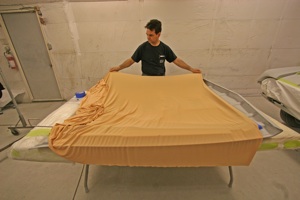 |
11. Then we laid out some polyester material, purchased from a fabric store. We use a heavy weight so it can be stretched but will also allow smooth contours. It is also important to use a material that is heavy enough to support the weight of the first coat of resin without sagging. |
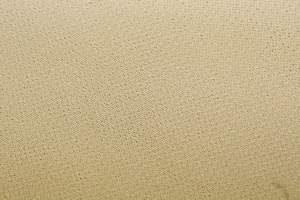 |
12. This close up shows the cross hatching pattern of the cloth. The larger the holes the more it will stretch and the more it stretches the less it will hold its shape under the resin. |
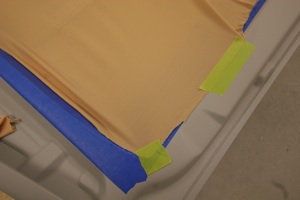 |
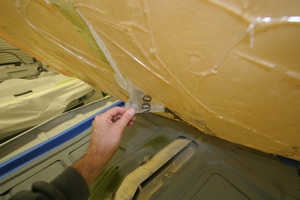
13. Here we have cut back the edges with scissors and taped it in place on a few edges to see how it fit. |
 |
14. We used extra tape to keep the fabric from sinking to far in the scoop area, and to help support the fiberglass. |
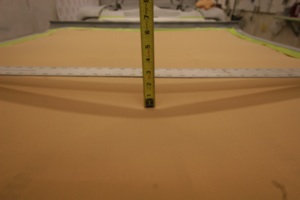 |
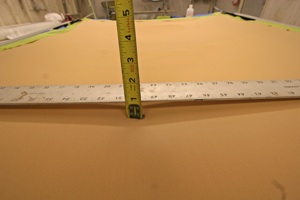
15. Then we tape the fabric down and check for the drop in the center to assure we have enough clearance between the inside of the new hood panel and the engine air cleaner. |
 |
16. Once it is laid out, check to make sure the fabric is smooth but loose enough to contour into the hood recesses under the weight of the fiberglass and resin. |
 |
17. Once we are happy with the clearances and slope from side to side and front to back we are ready to apply a very light coat of resin. |
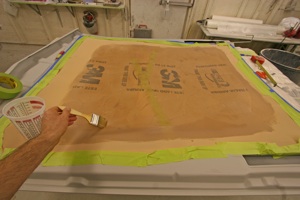 |
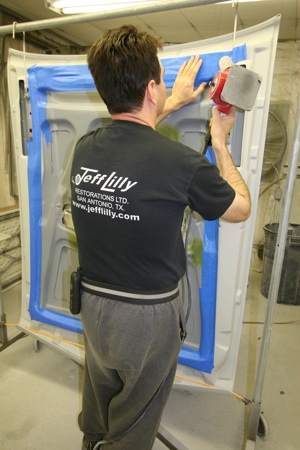
18. We mixed up about one quart of resin with hardener according to the directions and apply it with a small disposable brush. This lets us apply just enough resin to make a mold that will support the fiberglass matting once it dries. Apply just enough to wet the fabric or it will sag too much. |
 |
19. After the first coat is applied, but before it cures, we readjust the fabric to obtain a smooth contour. If you are working in a hot climate, reduce the hardener by 1/3 or it may set up too fast. |
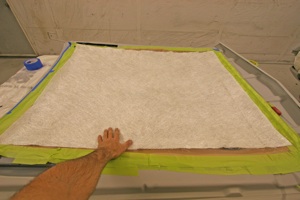 |
20. Next we lay out two or three layers of the two mat materials. Then, starting with the chopped strand mat, we alternate the layers applying resin in between, working from the center out to the edges. We also fog blast between each panel with 80 grit aluminum oxide for maximum adhesion. |
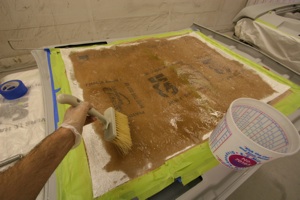 |
21. This time we use a large brush to apply the resin to assure that all the fiberglass strands are saturated. |
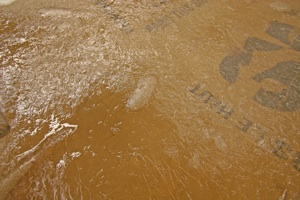 |
22. Here you can see that an air bubble has formed under the fiberglass. This will look bad and reduce the strength unless we remove it. |
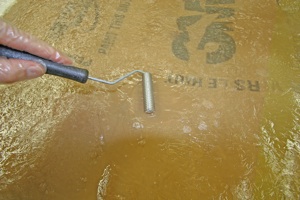 |
23. So we work out the air bubble with a glass mat roller. But we must work quick to get the bubble out before the resin hardens. |
 |
24. After all the layers are down we let it cure for two hours. Then we lift the panel off the hood. The masking tape blocks the flow of oxygen to the underneath surface so it may not be completely cured. |
 |
25. As seen we have a nice release from the sheet metal and no problems removing the panel. |
 |
26. Now we simply peel the 3M plastic away from the bottom of the new panel. |
 |
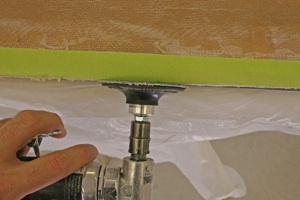
27. Here we are using a roloc 40 grit disc on an angle grinder to knock down the wrinkles of resin on the back side of the panel. |
 |
28. And here we are adding some pieces to reinforce the corner. If the resin has hardened past the tacky point you should scuff grind it, fog blast it with aluminum oxide or brush on a layer of acetone to get the next layer to stick. |
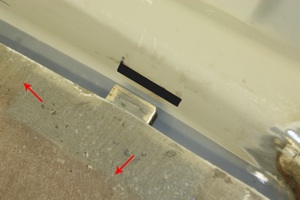 |
29. The red arrows indicate where we slid an 1/8 inch piece of metal in between the fiberglass layers. This tab will slip into the groove we cut out of the hood to hold the front section of the panel in place. |
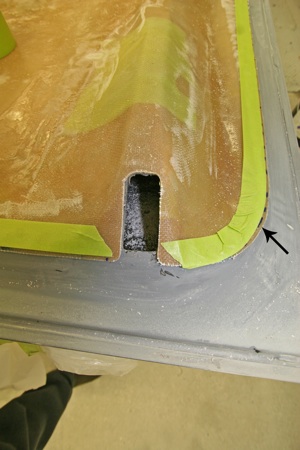 |
30. Next we cut out slots for the hinges and ran a fresh piece of tape following the ridge on the hood to show us where to trim the edges. |
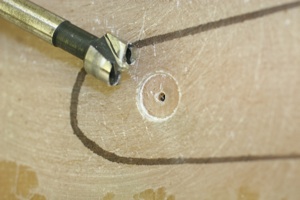 |
31. We used a forester bit to remove two layers of matting for the attaching screws. |
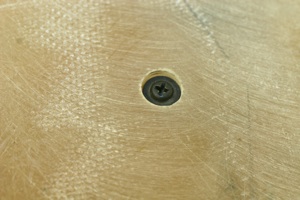 |
32. And here is how the screw looks installed. |
 |
33. We used a small angle grinder with a 3M roloc 40 grit disc to clean up the edges. |
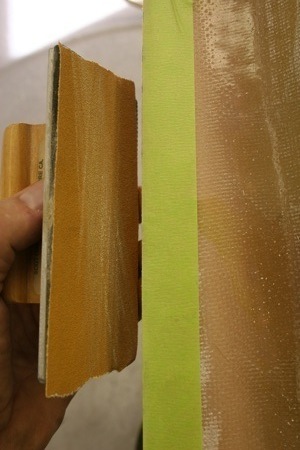 |
34. And we finished the edges off with a block sander using 80-120 grit paper. |
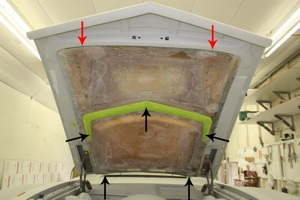 |
35. We finished it off with a cosmetic trim piece (green) to match the outer hood edge. The black arrows point to the fasteners and the red arrows to the metal tabs we embedded in the matting. If the panel is to be painted it will need more finish work but we upholstered for a show quality look. |
Jeff Lilly Restorations
11125 F.M.1560 N
San Antonio, Texas
210-695-5151 - www.jefflilly.com
11125 F.M.1560 N
San Antonio, Texas
210-695-5151 - www.jefflilly.com