Last Reviewed:
January 11, 2026
| This article will show you how to beef up the hinge area, align the panels and get the gaps in shape. Our example is a 36 Ford Truck but Chevy and Dodge trucks and cars would require the same techniques. | |
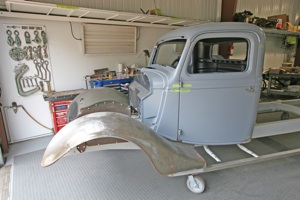 |
1. The First step is to align the body as good as the factory tolerances will allow. |
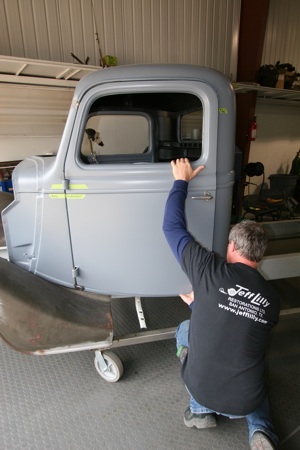 |
2. In this case we were only able to get it close because the factory assembly line did not have a very close tolerances in the 30´s. |
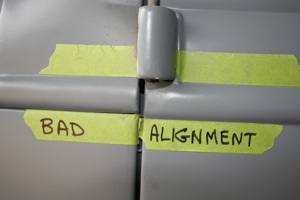 |
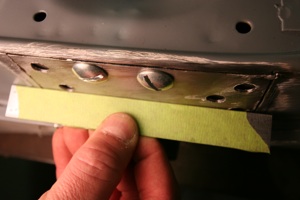
3. A close up shows the door to cowl alignment is way off as seen by the tape edges. Although this area is very important we have to work other sections of the body first so we will come back to this later. |
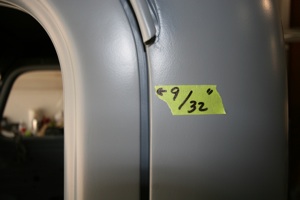 |
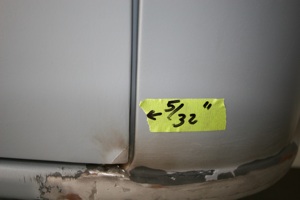
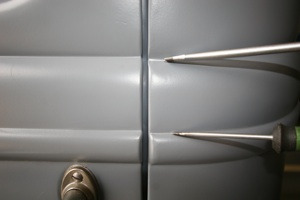
4. The gap at the top outside door to cab is 9/32. That is way too much and it is typical for the gaps to be inconsistent. |
 |
5. The rubber door seal may cause the door post to flex if it is not strong enough. And it is common for the tension of the rubber to push the door away from the post. |
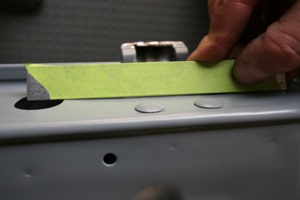 |
6. We remove the door to take a look at the causes. In the thirties they did not beef this area up much and it usually has a dip, as seen under the straight edge. The rivets are also part of the problem as they weaken over the years from general use. |
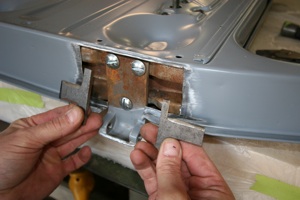 |
7. We cut off the old outer sheet metal, drilled out the rivets and bolted the hinge back in place. This inside structure is not strong enough to support the hinge by itself so we will beef it up a bit. And we will add these T-braces to stiffen up the door post structure. |
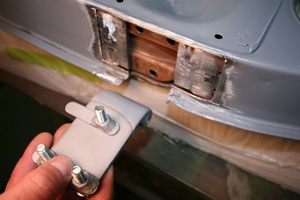 |
8. We welded in the t-plates and ground every thing level. Here we removed the hinge to show you the nut retainers made to enable removal of the door. |
|
|
|
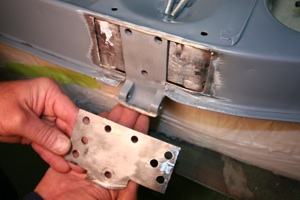 |
9. We made a new outer cover but used 16 gauge metal rather than the 20 gauge used by the factory, making for a tighter fit between the hinge and door. |
 |
10. As seen here we have re-attached the outer metal with the new door bolts and it is nice and straight. Next we weld it up and re-attach the door. |
 |
11. We now have a sturdy door with no flex problems but as you can see we still have to align the panels. |
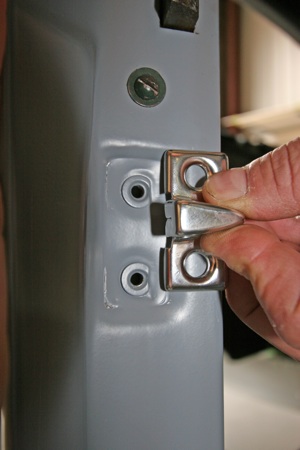 |
12. The only way to adjust this type of door is to move the striker guide system but in this case it will not move far enough, so we will have to cut it out and move it up. |
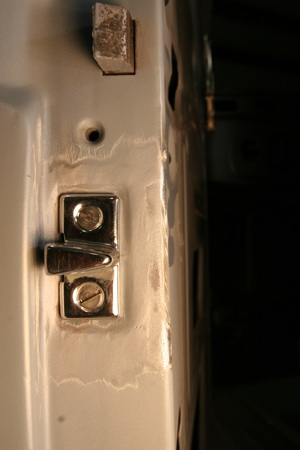 |
13. Here you can see that we sliced around the perimeter and moved the nut plate up about 1/4 inch. We then ground the welds down and reinstalled the striker. Be sure and check it while you have it tacked in place before fully welding. |
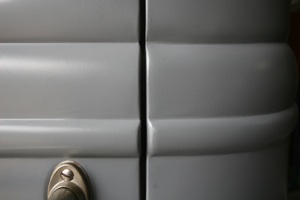 |
14. As seen, the panels are now aligned. |
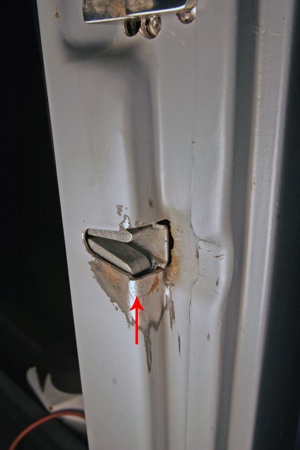 |
15. We had to repair the edge of the door post guide pin cut out (red arrow) because the door was so miss aligned it was hitting the edge and bending it. |
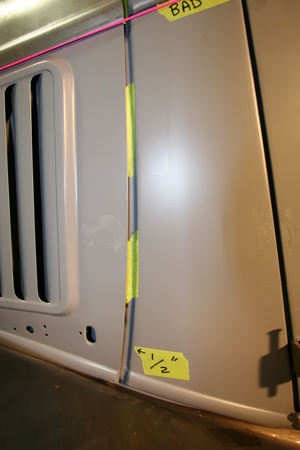 |
16. Here you can see that the hood to cowl gap is way off. We will fix this by adding a larger body mount which will raise the cowl and change the angle, thereby closing up the gap between the hood side panels and body cowl. |
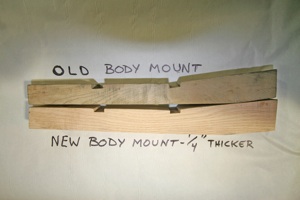 |
17. We figured 1/4 inch should do the trick and made the mounts from new chunks of red oak. |
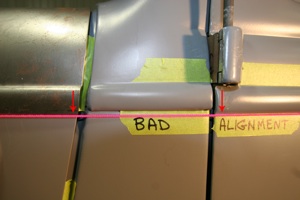 |
18. As mentioned in step #3, we can now address the hood, cowl and door gaps and have stretched a string to check their alignment. The door and hood lines (red arrows) are dead on but the factory welded the cowl belt line up too high. We will have to move it up. |
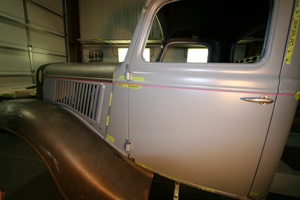 |
19. Here we step back to take a look. |
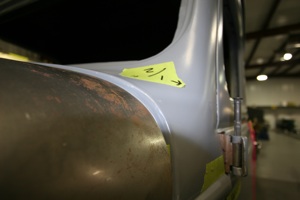 |
20. Before moving the belt line on the cowl down we will look it over carefully to see if there are any other problems. |
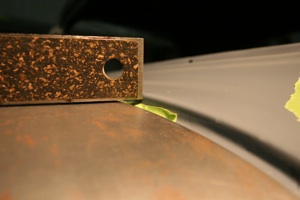 |
21. Here, toward the center of the hood, the straight edge shows the cowl is over 1/8th too high. The hood is flat from front to back so we will have to lower the cowl. Be sure to install the hood welt cord or rubber seal before checking this. |
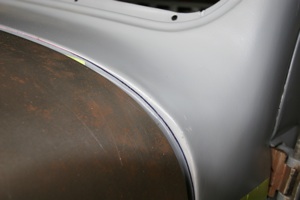 |
22. Here you can see the marks we made on the cowl before slicing it for improving the fit. |
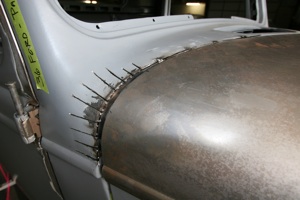 |
23. And here are the slices. We did the same work on both sides. |
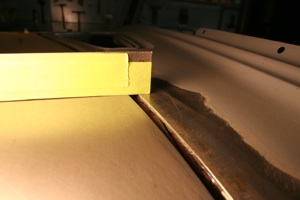 |
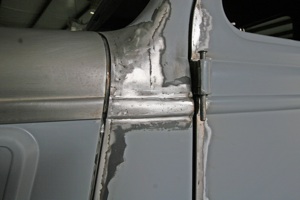
24. After closing the slices we recheck it with the straight edge and the cowl and hood line up perfectly. |
 |
25. Here you can see that the belt line has been moved down and we are ready for body work and paint. |
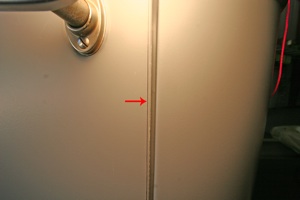 |
26. Now we are ready to address the door gaps. We mark the gap back 3/16 of an inch (red arrow) to match the gap to the body shell plus 1/16 for welding. This will give us enough metal on the edge after we weld and grind it back to the desired 3/16th of an inch. |
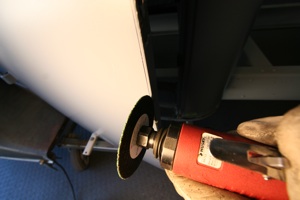 |
27. We only cut off 1 to 2 inches at a time and then tack weld it to keep the panel from splitting and separating. This also keeps the panel from getting wider and retains the original thickness. |
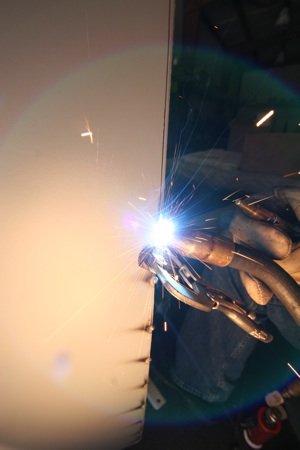 |
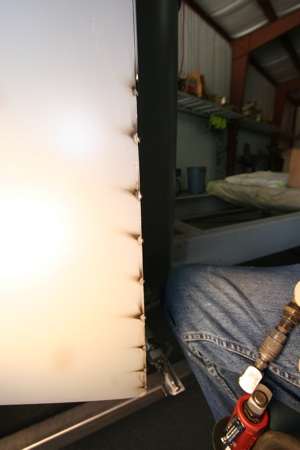
28. We clamp the panels to keep them from separating and tack them about every inch. |
 |
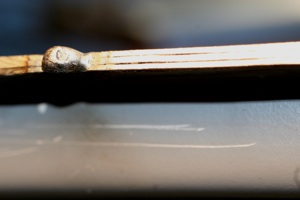
29. As seen, do not weld any more then this or you can warp the panel... |
 |
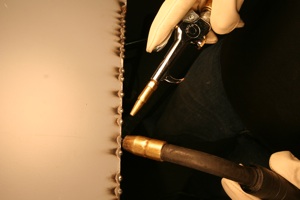
30. This close up shows the outer panel sheet, inner panel and the third panel which is the wrap around section from the original door skin. Keep them tight together. |
 |
31. We weld and then cool, weld and cool, to avoid warpage. |
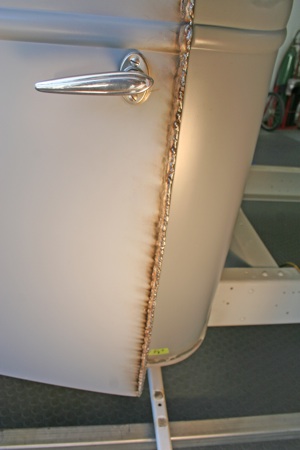 |
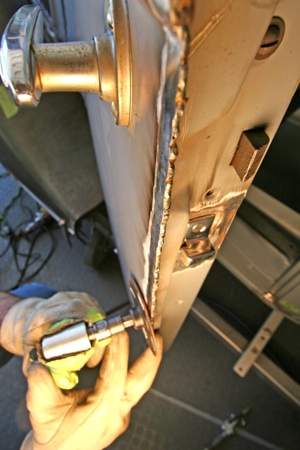
32. Welding up door edges and cutting them back to the correct gaps takes time at patience. Notice how small the weld beads are. Do not use a Tig welder because it causes too much heat. We use a Mig welder because it allows the tack welds to cool. |
 |
33. Here we grind the surface smooth, constantly checking the fit and moving around to avoid heat build up. |
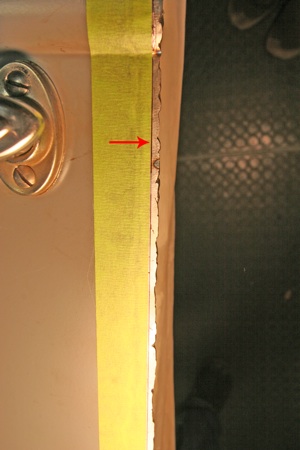 |
34. The tape was used to lay out the desired gap against the cab (red arrow) and we then marked the edge with a felt pen. |
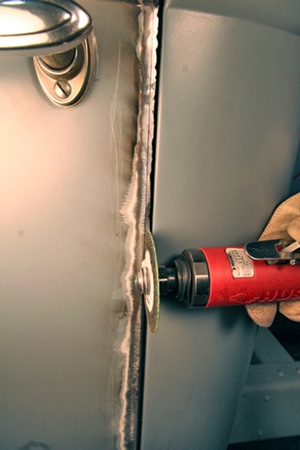 |
35. And here we sliced on the outside edge of the line to allow a bit of metal for fine tuning. |
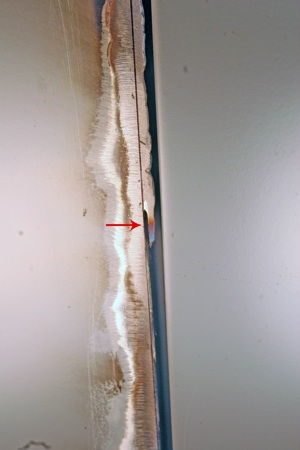 |
36. You can see the slice here. Leave just a bit of metal on the outside of the line for final fit. |
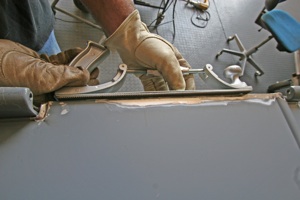 |
37. We finish it off with a metal file for a perfect edge. |
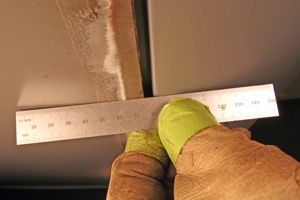 |
38. And here is the door installed and checked with a straight edge. We are now ready for body work and paint. |
Jeff Lilly Restorations
11125 F.M.1560 N
San Antonio, Texas
210-695-5151 - www.jefflilly.com
11125 F.M.1560 N
San Antonio, Texas
210-695-5151 - www.jefflilly.com


