Last Reviewed:
January 07, 2026
| These tips will help to assure the proper assemble of restoration projects to their original state. | |
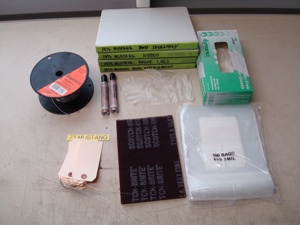 |
1. The needed supplies include baggies with a white marker box, scuff pads, tags, vinyl gloves, and labeled note books for overall inventory, parts replacement, sequence of disassembly, general notes, etc. |
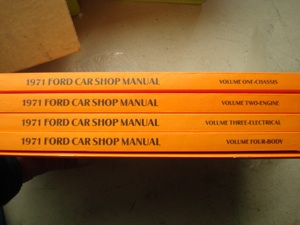 |
2. A good set of shop manuals is mandatory. |
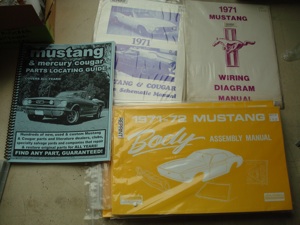 |
3. A body assembly manual will be very handy if you can find them for your car. |
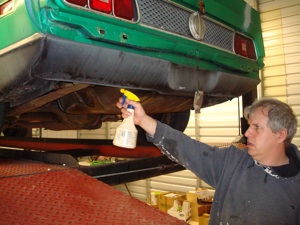 |
4. We start by soaking down the bolts and fasteners a few days before starting. We like PB Blaster the best for loosening rusted fasteners. Soak them once a day for two or three days. |
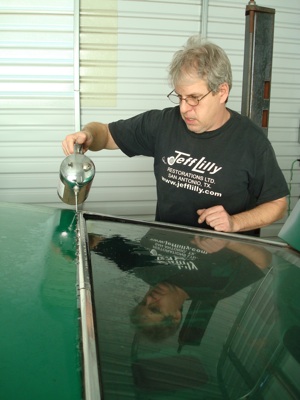 |
5. We soak down window moldings with wax and grease remover (available from auto body supply stores). This will make it easier to remove the trim without bending it. We highly recommend you read the book "How to Restore Automotive Trim" for more information about the proper way to remove trip pieces. |
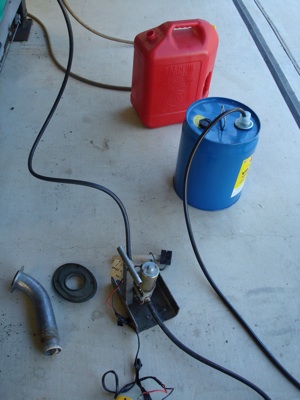 |
6. It´s a good idea to remove the gasoline and fuel tank before making any repairs that might create sparks. We use a fuel pump hooked to the fuel line at the carburetor to draw out the fuel from the tank and lines before removing the tank. |
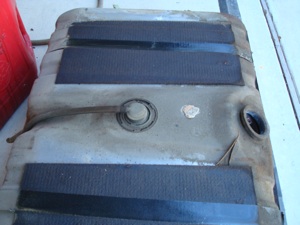 |
7. We photograph the tank before removing it from the shop. |
|
|
|
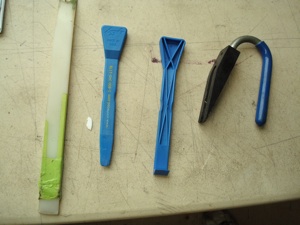 |
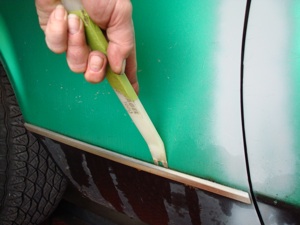
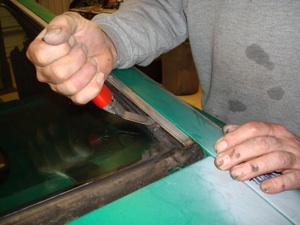
8. Removing trim requires proper tools. These plastic pry bars are more flexible then steel and do less damage. You can use different size putty knifes but metal to metal can dent your trim much easier so be careful and pry gently. Notice the tape around the white nylon tool, this reduces contact pressure when removing aluminum trim. |
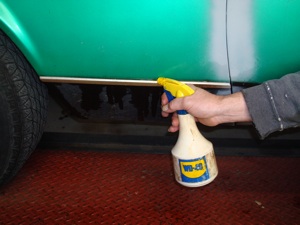 |
9. Soaking the side moldings allows them to slide off the clips easier. Sometimes you are not able to get access to the clips until the fender is off. Your manual should show this but common sense will make the difference. |
 |
10. Most trim is held on with a snap on clip, a bolt on clip, or a combination of both. Most trim is snapped on after the body panels are in place so you may not have access to the back side. If this is the case, try to pry where the clip is to avoid bending the trim. |
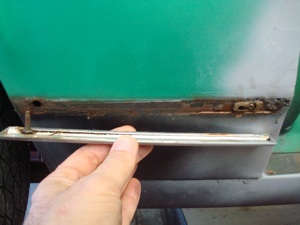 |
11. The quarter panels on this car is a typical example. Here a snap on clip was used by the door and a bolt was used on the end. Road salt will make it hard to remove the nut without twisting the bold off so it is often a better to cut the stud off from the back. |
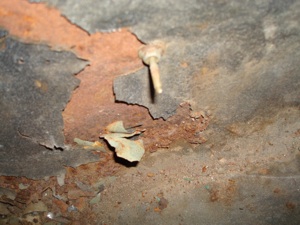 |
12. Always inspect the back side of the quarter panel before making assumptions about how the trim is installed. Here we found a long bolt used in the middle of a long piece of trim. Had we tried to pry off the trim without looking it could have been ruined. |
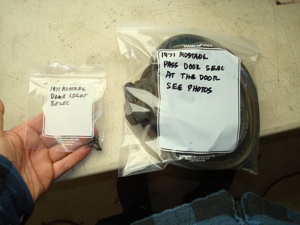 |
13. Get in the habit of bagging parts as soon as they come off and make notes in your books about the sequence or problems. And take hundreds of photos because after removing hundreds of parts you are sure to forget vital information later on. |
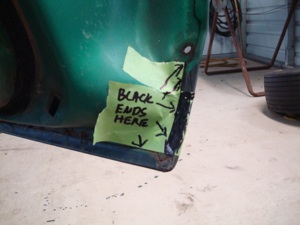 |
14. If you are going for a 100% restoration photograph every detail, especially things like where colors change. |
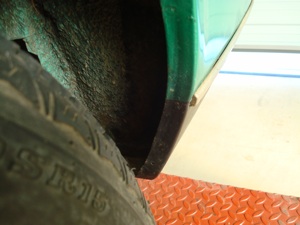 |
15. The same goes for wheel edges and anywhere two tone colors are applied. |
 |
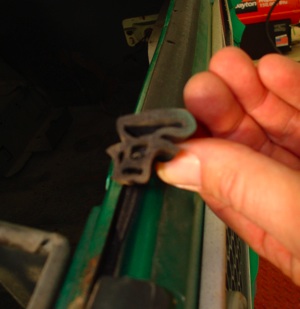
16. When removing trunk rubber try to keep the pieces whole for later reference. |
 |
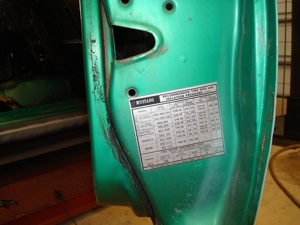
17. Photograph how the various rubber trim is installed because in many cases it can be installed in more than one way, which could lead to poor fit and leaks. We always purchase two sets of trunk and door rubbers, one for the metal work and body sanding phase to assure proper alignment, and one for final assembly. And purchase them at the same time to assure that they match. |
 |
18. Photograph decal placement to duplicate the factory position. |
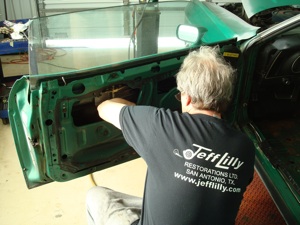 |
19. We remove all the rubber first and then start on the trim from the inside out. Then we reverse the order for final assembly so the interior trim is last. In this picture we have removed the seats and are starting on the door. If the door glass fit well before disassembly we often drill small pilot holes through the metal panel and window frame to assure good alignment at the end. |
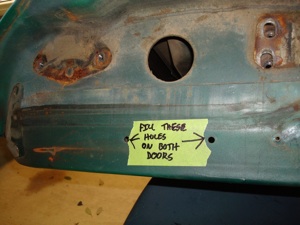 |
20. We also mark holes that are not supposed to be there, perhaps from aftermarket components that will not be used again. |
 |
21. When removing the trim from the front and rear glass it is important to not pry against the glass to avoid breaking it. Most windshields are available but the side and rear glass can be hard to find. |
 |
22. On cars that have rubber gaskets holding in the front or rear glass we cut the back side of the rubber with an exacto knife. Then we can easily push the glass out from inside. |
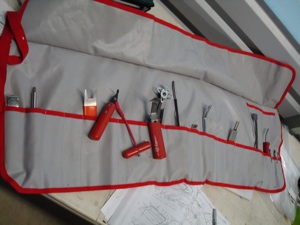 |
23. Equalizer makes some nice glass tools but you can also find suitable tools at local auto parts stores. |
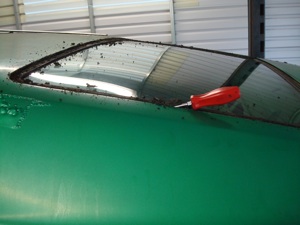 |
24. You will sometimes find a lot of dirt in the channel. Scrape it out carefully before trying to remove the glass. |
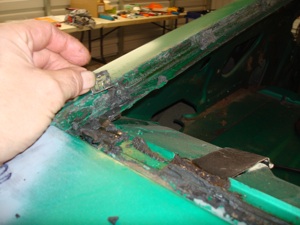 |
25. Here is a close-up of the trim clips after removal. |
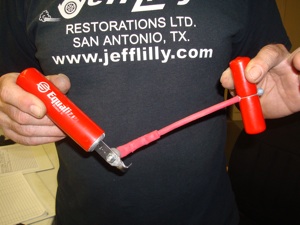 |
26. This is a low-cost cutting tool for getting through the butyl sealant used on windshields. You can find them at most auto parts stores. |
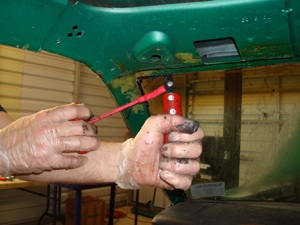 |
27. Here we are cutting through the butyl sealant. We make a 12 inch slice and then put a piece of plastic in the slot to prevent the by butyl from re-sticking until we have finished. Notice that we wear vinyl gloves so we will have clean hands when we pick up the camera! |
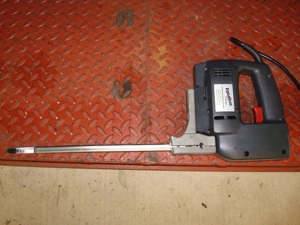 |
28. Most professionals will use this power blade cutter from Equalizer to remove the butyl. |
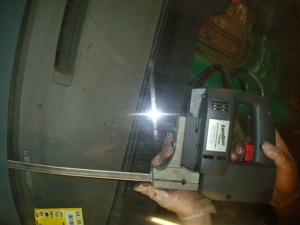 |
29. You simply hold the long blade up against the glass and it cuts the butyl easily. |
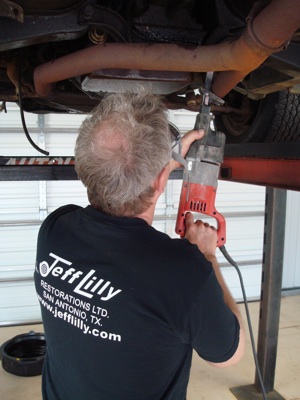 |
30. Parts that are not stock, like this exhaust system, get cut off quickly and tossed out. Again, take lots of pictures so you can show the muffler man how to install the new one. |
Jeff Lilly Restorations
11125 F.M.1560 N
San Antonio, Texas
210-695-5151 - www.jefflilly.com
11125 F.M.1560 N
San Antonio, Texas
210-695-5151 - www.jefflilly.com


