


Last Reviewed:
July 12, 2026
| Hot Tips for Paint Preparation. | |
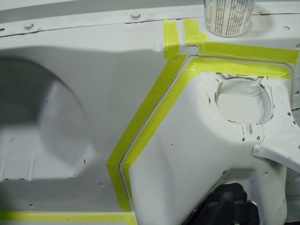 |
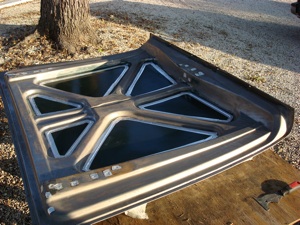
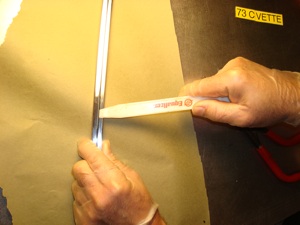
1. Caulk seams before priming to give them a smoother look and prevent water and rust stains. To do this, apply 3/4 masking tape on the outer side about 1/16th from the drop off edge. Where there is an overlap, move the tape back 1/8th inch. Run a 1/8 inch bead of 3M 8300 sealer and use a lacquer-coated finger to smooth it out. You can pull the tape off after each foot is finished and then prime in an hour. |
 |
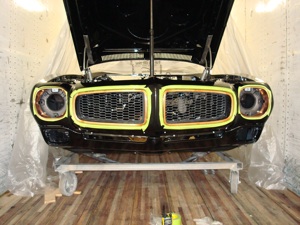
2. As seen here, the seams have disappeared. |
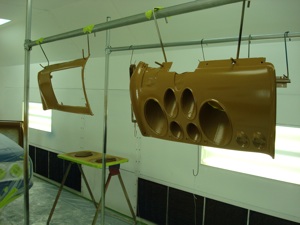 |
3. Hang parts on hooks for painting. When painting small parts use 1/8th to 1/4 inch hooks to stabilize the parts. Notice the hooks are taped at the top of the rack to keep them from swaying from the force of air from the spray gun, resulting in a smooth paint job. |
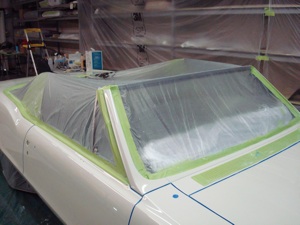 |
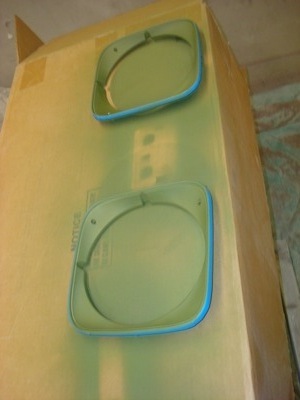
4. Re-tape before polishing. During final polishing mask the entire car with plastic and tape all the gaps to prevent polishing compounds from entering in and under trim gaps etc. |
 |
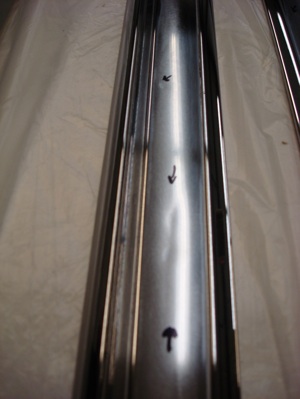
5. Fit metal trim in its copper state before final nickel and chrome is done. Most platers over grind and tend to tweak the parts a bit during preparation so this will be the last time you have to correct any fit problems. |
|
|
|
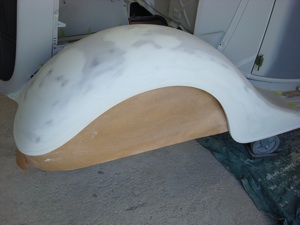 |
6. Mask off the inside of body fenders. This makes a cleaner environment for priming and allows you to see how perfect your wheel opening is. When you stand back five or 10 feet your eyes will focus on the fender rather than the surface underneath it. |
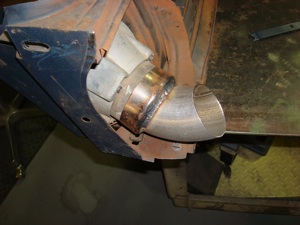 |
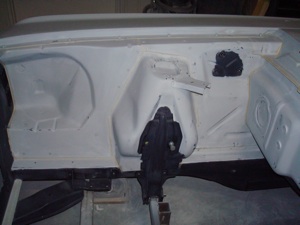
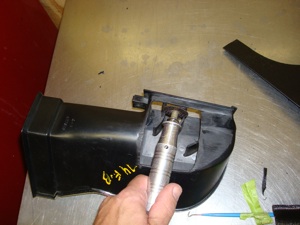
7. Use exhaust tubing to provide the proper exit on heater boxes and A/C ducts when trying to run through tight areas under the dash. |
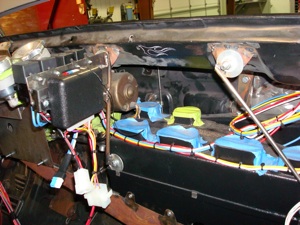 |
8. When mocking up components such as this A/C box, cover the inlets and outlets with tape to keep dust and grinding grit out. This will save you a lot of cleanup time latter on. |
 |
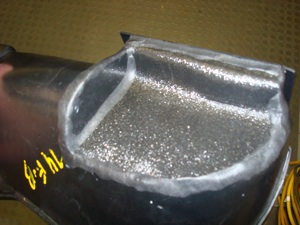
9. During paint stripping, use aluminum foil tape to seal off the inner panel from the outer. This will keep the old paint and stripper from entering into the inner structure and becoming trapped, which would be a big problem later on. You can also place it over any holes. After stripping, remove the tape and use a scotch brite disc on an angle grinder to clean all the paint off the edges where the tape was. |
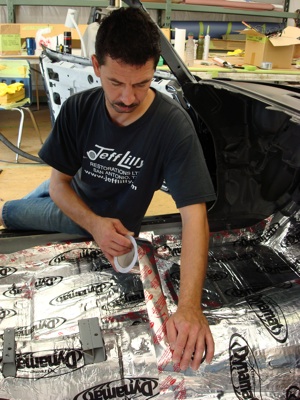 |
10. Use aluminum tape when installing Dynamat to sound deaden your vehicle. Place aluminum tape on all the overlaps to keep the sticky black butyl from getting on you while working inside the vehicle. This is especially important if it will be several weeks before the carpet is installed. |
 |
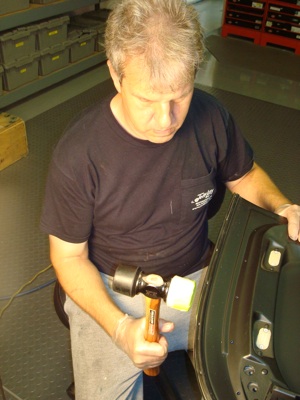
11. Spot weld panels to stiffen them for sanding. Often the edge of a panel will be wavy or unstable compared to the center. You can use of a mig welder to spot a few areas and when you cool with a wet rag the panel will stiffen just enough. Simply grind them back down slowly to the surface before priming. |
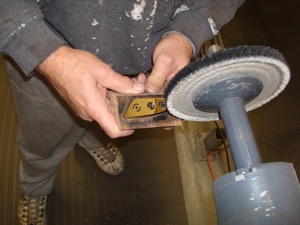 |
12. Bolt small parts to a piece of wood for buffing. This will eliminate the need to hold the actual part and prevent it from tweaking from the heat. |
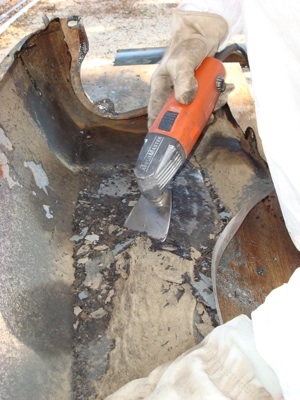 |
13. Use the right tool for the job. Fein built the first known power tool in the late 1800´s and they are still at it today. This oscillating tool with a scraper attachment removes old undercoat easily. |
 |
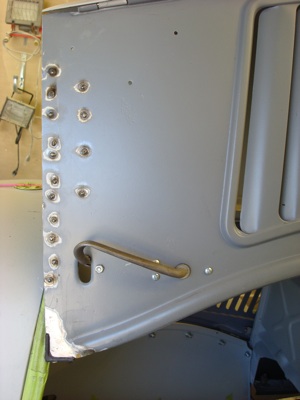
14. Do not accept the fit of factory parts. When installing factory parts such as this interior door panel they will more then likely not fit well. Hold the panel up to your door and mark the panel where it needs trimming. Then pull back the material from around the back side and trim off the excess. Then re-wrap and glue for a custom fit door panel. |
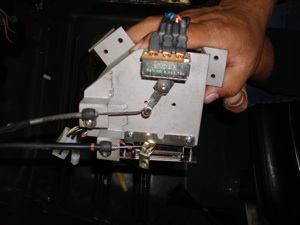 |
15. Upgrade dash controls. On older vehicles where you want to upgrade the A/C system but retain stock dash controls, attach the new electronic actuators by fabricating a bracket. Then change the arm out to accept the original cable system. |
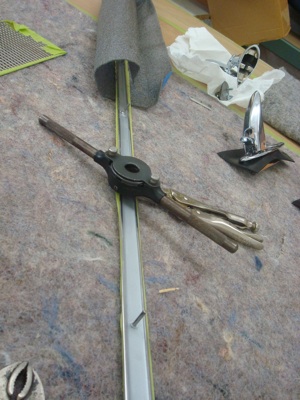 |
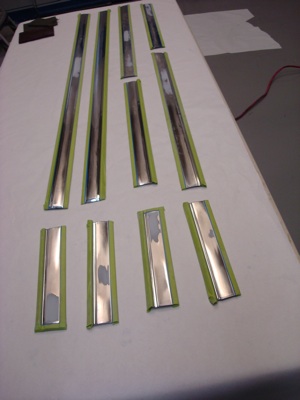
16. Upgrade fasteners. Some trim such as this stainless steel molding come with pot metal studs that accept thread cutting nuts, which often slip when tightened. Use a die to cut new machine threads to avoid loose fitting molding. |
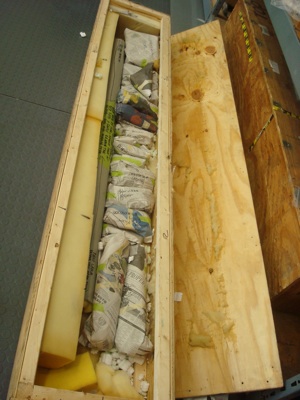 |
17. Transport parts safely. During shipping of rare parts always use wooded crates with foam and peanuts to keep them safe and secure. |
 |
18. Pre-align window tracks. Once you have your side window glass fitting the way you like during initial dissemble, or during the body work phase, pilot drill the inside doors and quarters panels to the window tracks with a 1/8th bit for easy alignment during final assembly. |
 |
19. Document component locations before disassembly. During disassembly make note of and take pictures of how the factory rubber seals were installed. Many shop manuals do not show this and it can mess up the fit of your doors and deck lid if incorrect. |
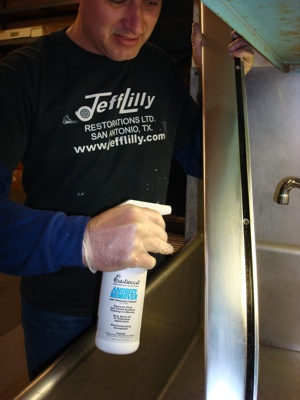 |
20. Use an anodize remover to clean up aluminum trim. Eastwood has an anodize remover for aluminum parts and fittings. No need to have them sent out any more. It works good when you keep the parts soaked. |
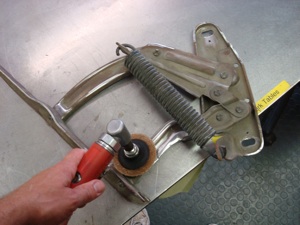 |
21. Do not overlook hood hinges. When it is time to prep the hood springs use 80-120 grit scotch brite discs to take out small dings scratches etc. Then glass bead blast them and then have them silver cad plated for a nice look. |
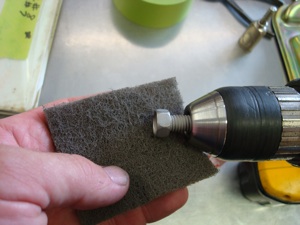 |
22. Polish stainless steel nuts and bolts. Stainless or plated bolts can have a nice satin finish on them by chucking them up in a drill and running them over a grey fine scuff pad. |
 |
23. Paint steel fasteners prior to assembly. We made these bolt holders to blast and paint fasteners. Simply take some 2 inch wide 1/8 thick strap material and weld different size nuts in a row. This makes an excellent holder and simplifies the process. |
 |
24. Use the right tape for the job. Blue fine line tape is very flexible and makes a nice edge on chrome trim parts with concave and convex curves during painting. |
 |
25. Prepare larger trim pieces like you do the body. Some body work will need to be done before painting because neither glossy nor satin paints will cover over these dings, so repairs are needed. |
 |
26. To prepare larger trim pieces for painting, brush the spots with slick sand primer by Evercoat and let it dry for 45 minutes. Then block sand all the ripples out. We use Ditzlers epoxy primer for good adhesion on these stainless pieces and then any top coat can be applied. |
 |
27. Use plastic to work thin trim. When tweaking moldings always use a wide blade plastic stick or spreader. Metal tools will damage them. |
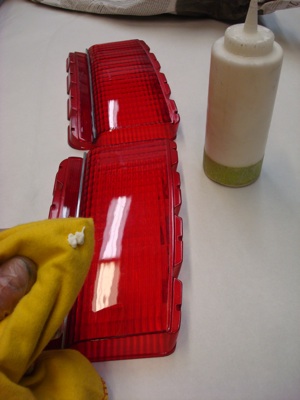 |
28. Using Finesse by 3M to remove scratches from tail light lenses. |
 |
29. Select the correct "Durometer" rating for rubber hammers. The durometer rating refers to the hardness of the rubber. Using the correct hammer will prevent damage to delicate parts. |
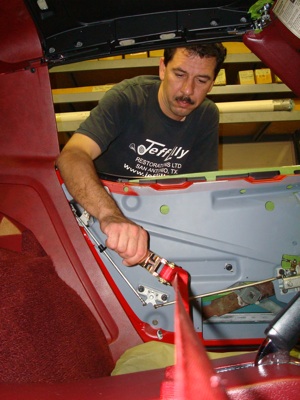 |
30. Use a small binder strap to tweak door fit. This is how we break in the rubber seals at final assembly because it does not cause the outer panels to ripple. We usually install some J-Hooks to the door by drilling a small 1/4 inch hole at the bottom or top of the door, depending on where the rubber is the tightest, and then hook the binder to them. Just a notch more every two to three days will do the trick. Remove the striker before doing this so there is no restriction. Once the doors close easily on their own, re-install the striker. |
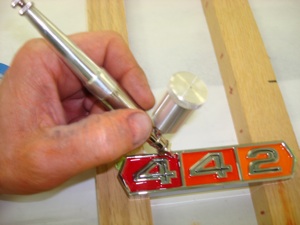 |
31. A flow pencil works great when painting emblems in between the lines. |
 |
32. You can modify ABS plastic with a heat gun. This 3 part tip shows how to adjust heater doors and air vents. Here we cut away a section of the door that was hitting on an upgraded speaker system under the dash. |
 |
33. Next we takes a piece of ABS cut to fit and then use a heat gun to mold it into shape. |
 |
34. The ABS adheres well and forms around the old box giving it clearance while allowing air flow to the defroster. |
 |
35. Use a heat gun to reshape plastic trim. Most plastic on a car or trucks body can be heated with a heat gun to manipulate and reshape. This kick panel wind lace was curved too much from the factory so a little tweaking was needed. Heat and place it within 30 seconds, then hold it in place while it cools and you have a nice fit. |
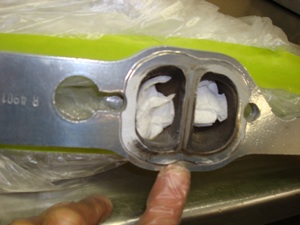 |
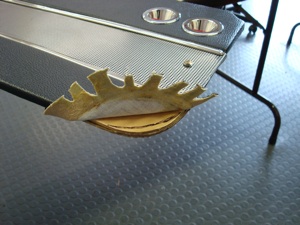
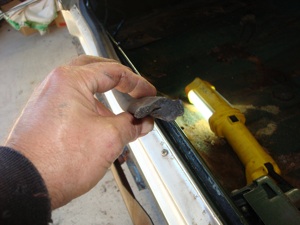
36. Use brazing rod to improve the fit of headers. As seen here, we had to add brass and then file it to a level state so it would seal. Always check the fit with new gaskets to assure a good match. |
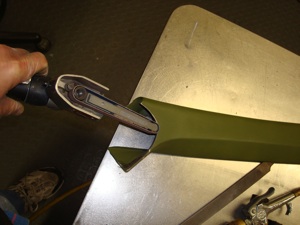 |
37. Use a small sander to adjust fit on trim. Here we use a mini file belt sander to grind away the unwanted metal for an exact fit. |
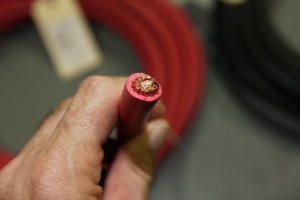 |
38. Assure you use the correct size wires. With Copper prices going through the roof be selective when choosing large cable for battery and stereo leads. Some manufacturers put extra thick plastic coatings on the outside to make the wire cable look larger than it is. Ask for a sample or verify the gauge size to assure you have the correct size before purchasing. |
Jeff Lilly Restorations
11125 F.M.1560 N
San Antonio, Texas
210-695-5151 - www.jefflilly.com
11125 F.M.1560 N
San Antonio, Texas
210-695-5151 - www.jefflilly.com