


Last Reviewed:
June 07, 2026
| Installing a new radio or CD player in your antique, vintage or classic vehicle often requires making a new bezel and modifying the dash. Here's how: | |
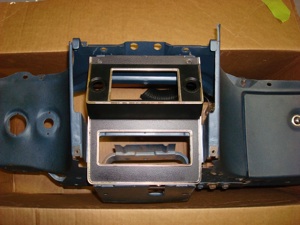 |
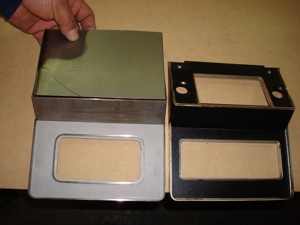
1. The stock radio bezel was made of plastic and had a pebble finish grain in the inside with a chrome bead on the outer edge. The top section housed the original AM-FM radio and the bottom cut out was for the heater switch. |
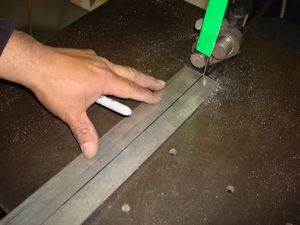 |
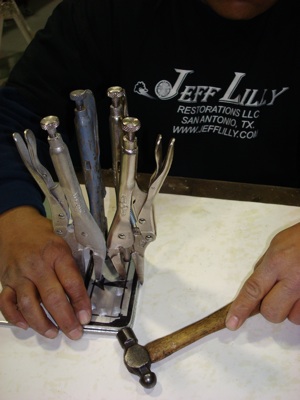
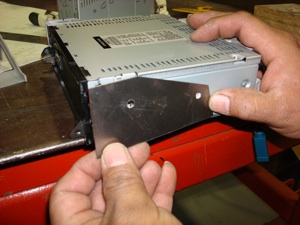
2. We started by cutting some 1/2 inch strips of 12 gauge stainless steel. This will be used for the outer edge to make the chrome bead look like the original bezel. We will polish this edge just before the completed unit is painted black in the center. |
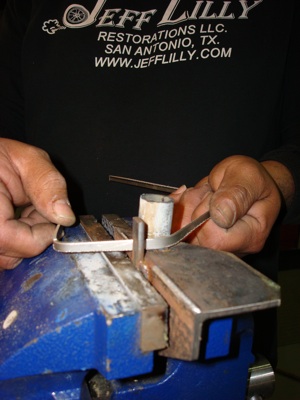 |
3. A simple jig mounted in a vise is all that is needed to bend the stainless the same shape as the original bezel. On some parts hand tweaking is better then power tools for control, especially with small parts. |
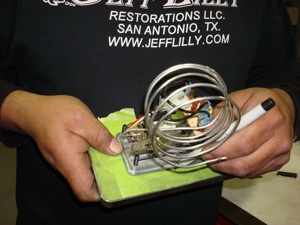 |
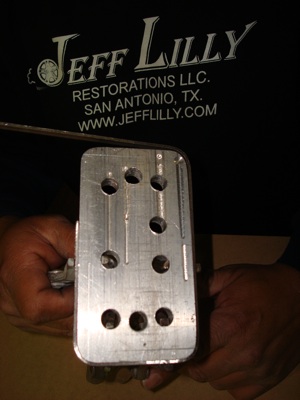
4. We use a piece of 20 gauge steel for the bezel and marks where the A/C-Heater control will be. |
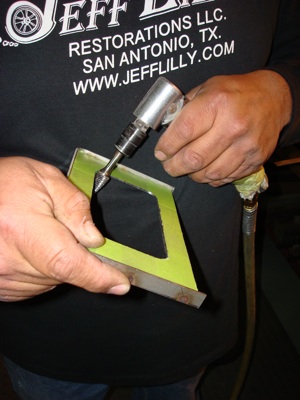 |
5. We used a small hole saw to cut the corners and a cut off tool to remove the center section, 1/16th outside the lines. Then we used a carbide burr in an angle grinder to clean up the burrs and make a perfect fit. |
|
|
|
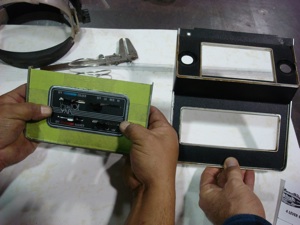 |
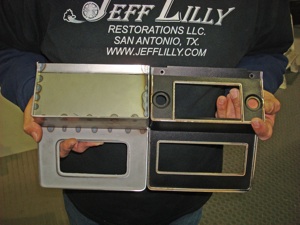
6. We compare the original to the new piece and continue until we are satisfied with the fit. |
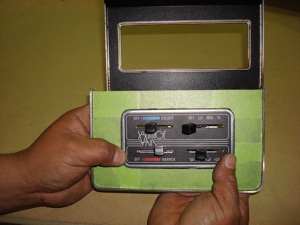 |
7. Finally, the controls fit the new bezel as good as they did the original plastic one. |
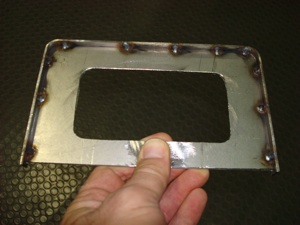 |
8. We then tack weld the stainless edging to the carbon steel face plate on the back side where no one will see. |
 |
9. Clamped up and held in place, we hammer tweaked the edging in to exact placement before welding it up solid. |
 |
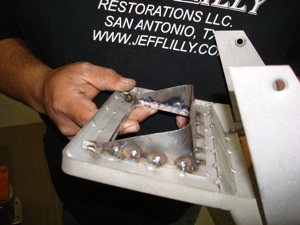
10. We made an aluminum buck with holes for the vise grips to hold the bezel in place while welding for an exact fit. |
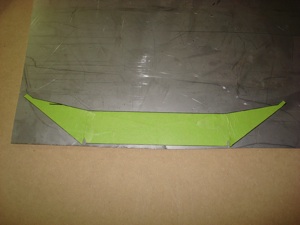 |
11. Now we cut out the shroud for the lower section where the stereo will go. Regular steel is fine for this. |
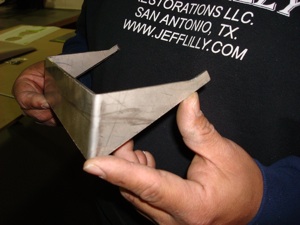 |
12. Then we bend the shroud. |
 |
13. And tack the shroud to the bezel. |
 |
14. Next we make a face plate for the CD player. |
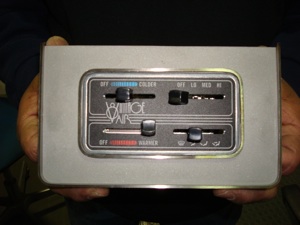 |
15. The heater controls fit nicely and have a factory look. |
 |
16. Then we weld the face plate on. Note the slight angle at the top as this matches the original where the mounting holes will be located. |
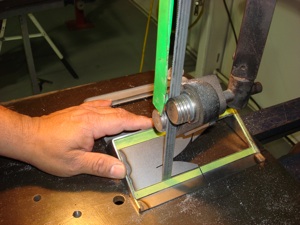 |
17. To save time, we cut through one end of the face plate (which we will weld up later) and use a band saw to cut the hole for the face plate. |
 |
18. Side brackets were made to attach to the player to hold it tightly in place. |
 |
19. Flush mount screws are used to hold the side bracket down. |
 |
20. Here we are checking the radio for fit. |
 |
21. We also added a shroud to attach the heater control unit. |
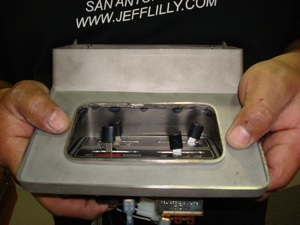 |
22. This shows the top section where the shroud covers the opening there once was. |
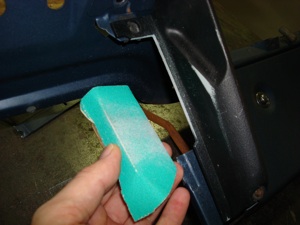 |
23. On the car´s dash the side panels were made out of fiberglass. We removed them and made a small relief cut because the new CD player was wider then the stock one. The new bezel will cover this up. |
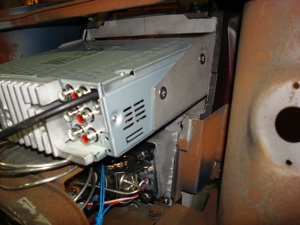 |
24. Here is a view from the back side of the dash. |
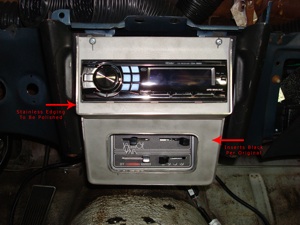 |
25. The outer bead will be polished and the inner section will be sprayed for a pebble texture and then satin black.. |
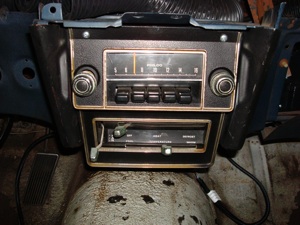 |
26. Here is the before comparison to get an idea what we started with. |
Jeff Lilly Restorations
11125 F.M.1560 N
San Antonio, Texas
210-695-5151 - www.jefflilly.com
11125 F.M.1560 N
San Antonio, Texas
210-695-5151 - www.jefflilly.com